Local-Style Chi Chi Dango (Hawaii's Three-Layered Mochi)
Disclosure: Some of the links in this post are affiliate links. This means if you click on the link and purchase an item, Third Culture Taste will earn a commission at no extra cost to you. See terms and conditions for details.
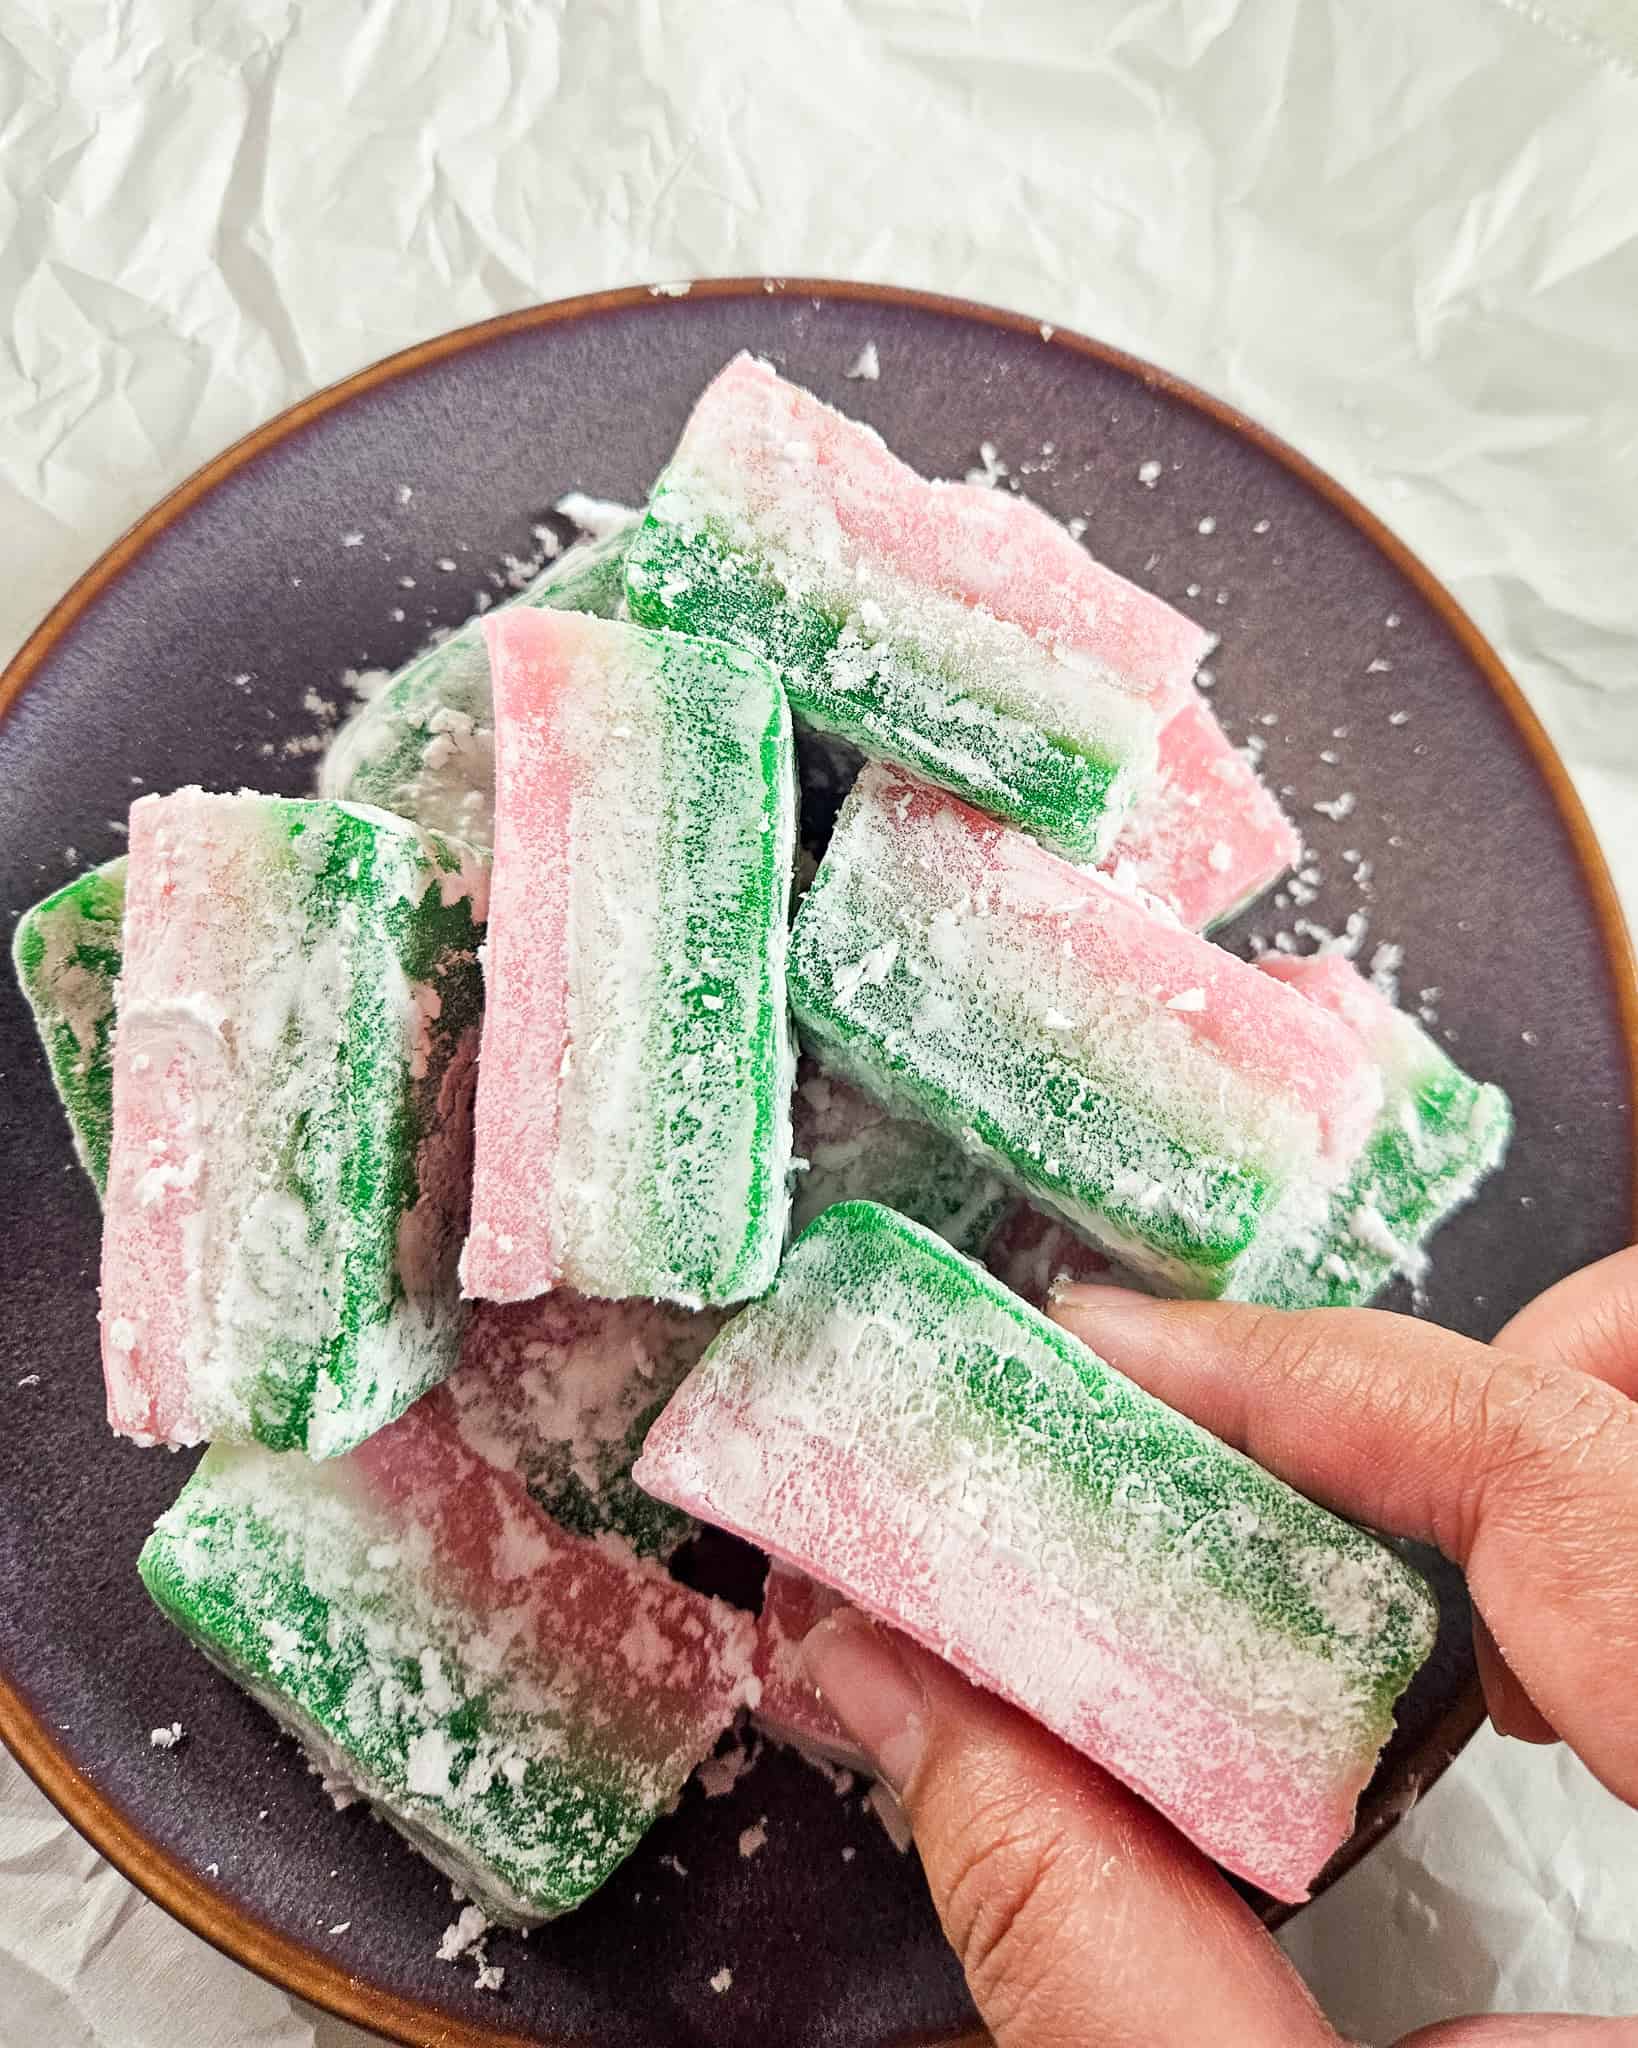
I moved to Hawaii in the spring semester of 5th grade, just in time for Girls' Day. This was the first time I ever had chi chi dango. Ever since then, I've looked forward to celebrating Girls' Day with this pillowy-soft and chewy mochi!
Jump to:
I know the publish date on this recipe isn't quite in time for Girl's Day, but as an adult, I find this recipe to be an awesome party potluck idea. It's easy to make, it's cute to look at, and it's fun to eat!
A Moment For Hawaii's Chi Chi Dango
Chi chi dango translates to 'milk dumpling,' and the name is reminiscent of Japan's round dango-style mochi. The original chi chi dango comes from a city named Shobara within the Hiroshima prefecture. This initial version is made with cow's milk and the mochi is cooked and then kneaded by hand.
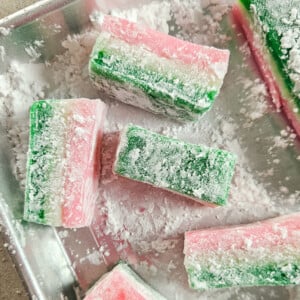
Hawaii's rendition of chi chi dango has been adapted to the islands by using coconut milk and baking it in the oven. The pink, white, and green colors each hold a symbolic meaning in celebrating Girls' Day. The pink means energy, white stands for purity, and green means new growth. The colors together also symbolize flowers and plants growing in the springtime.
Key Ingredients
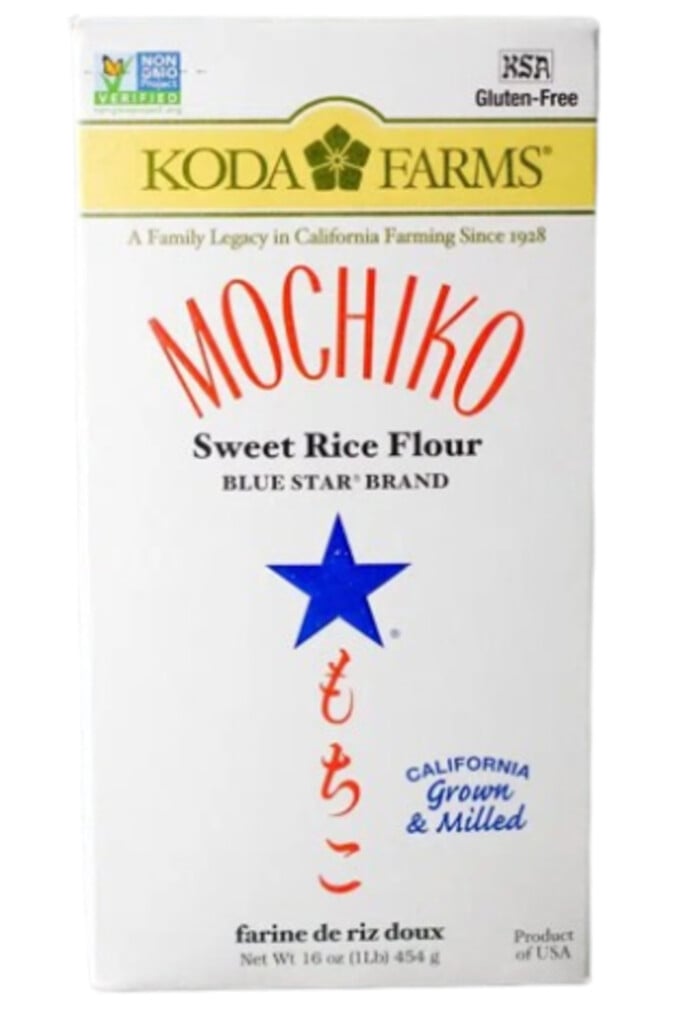
The ingredient list is short for this recipe, but you do need the right ingredients to achieve the best flavor and texture. First up is to use the Koda Farms brand Mochiko flour. It's a Hawaii staple, used in many local-style dishes, like mochiko chicken and this delectable ube butter mochi!
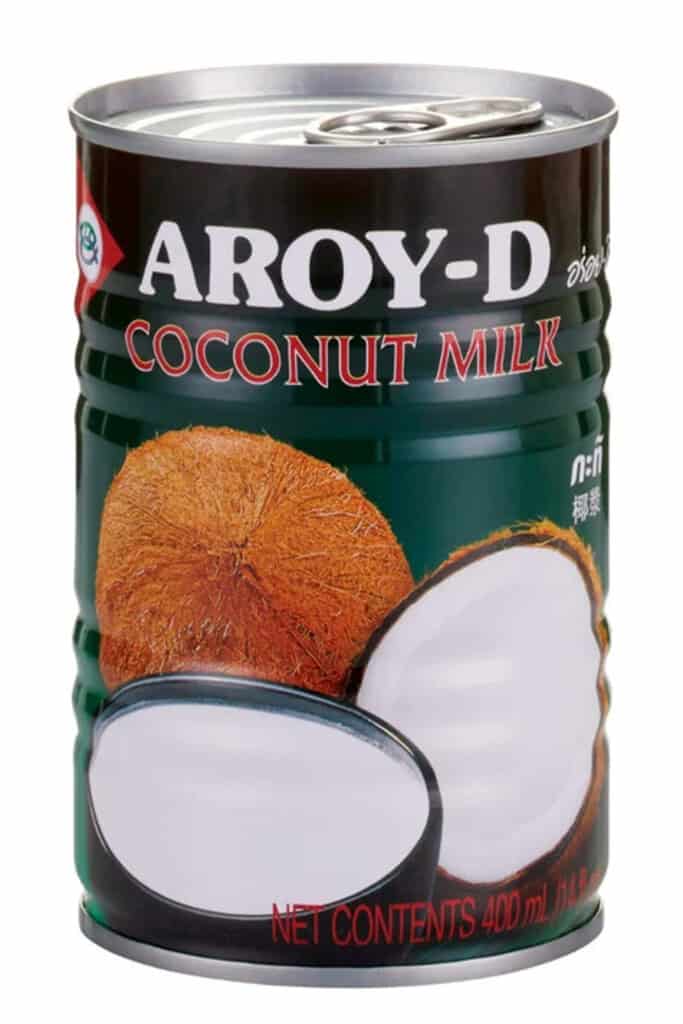
Next is full-fat coconut milk. I say full-fat because the fat is a big reason for the pillowy texture, and it also makes the chi chi dango just a little bit decadent. The brands I like to use are Aroy-D or Chaokoh. Shake the can well before opening to integrate the fat solids with the liquid.
I highly recommend using gel food coloring over liquid food coloring because liquid adds more moisture to the chi chi dango, which could affect your baking time. Gel food coloring is also more efficient since you only need a few drops to achieve the desired shade. I also find gel food coloring to be more vibrant than liquid food coloring.
Testing Dry Baking vs. Bain-Marie Baking
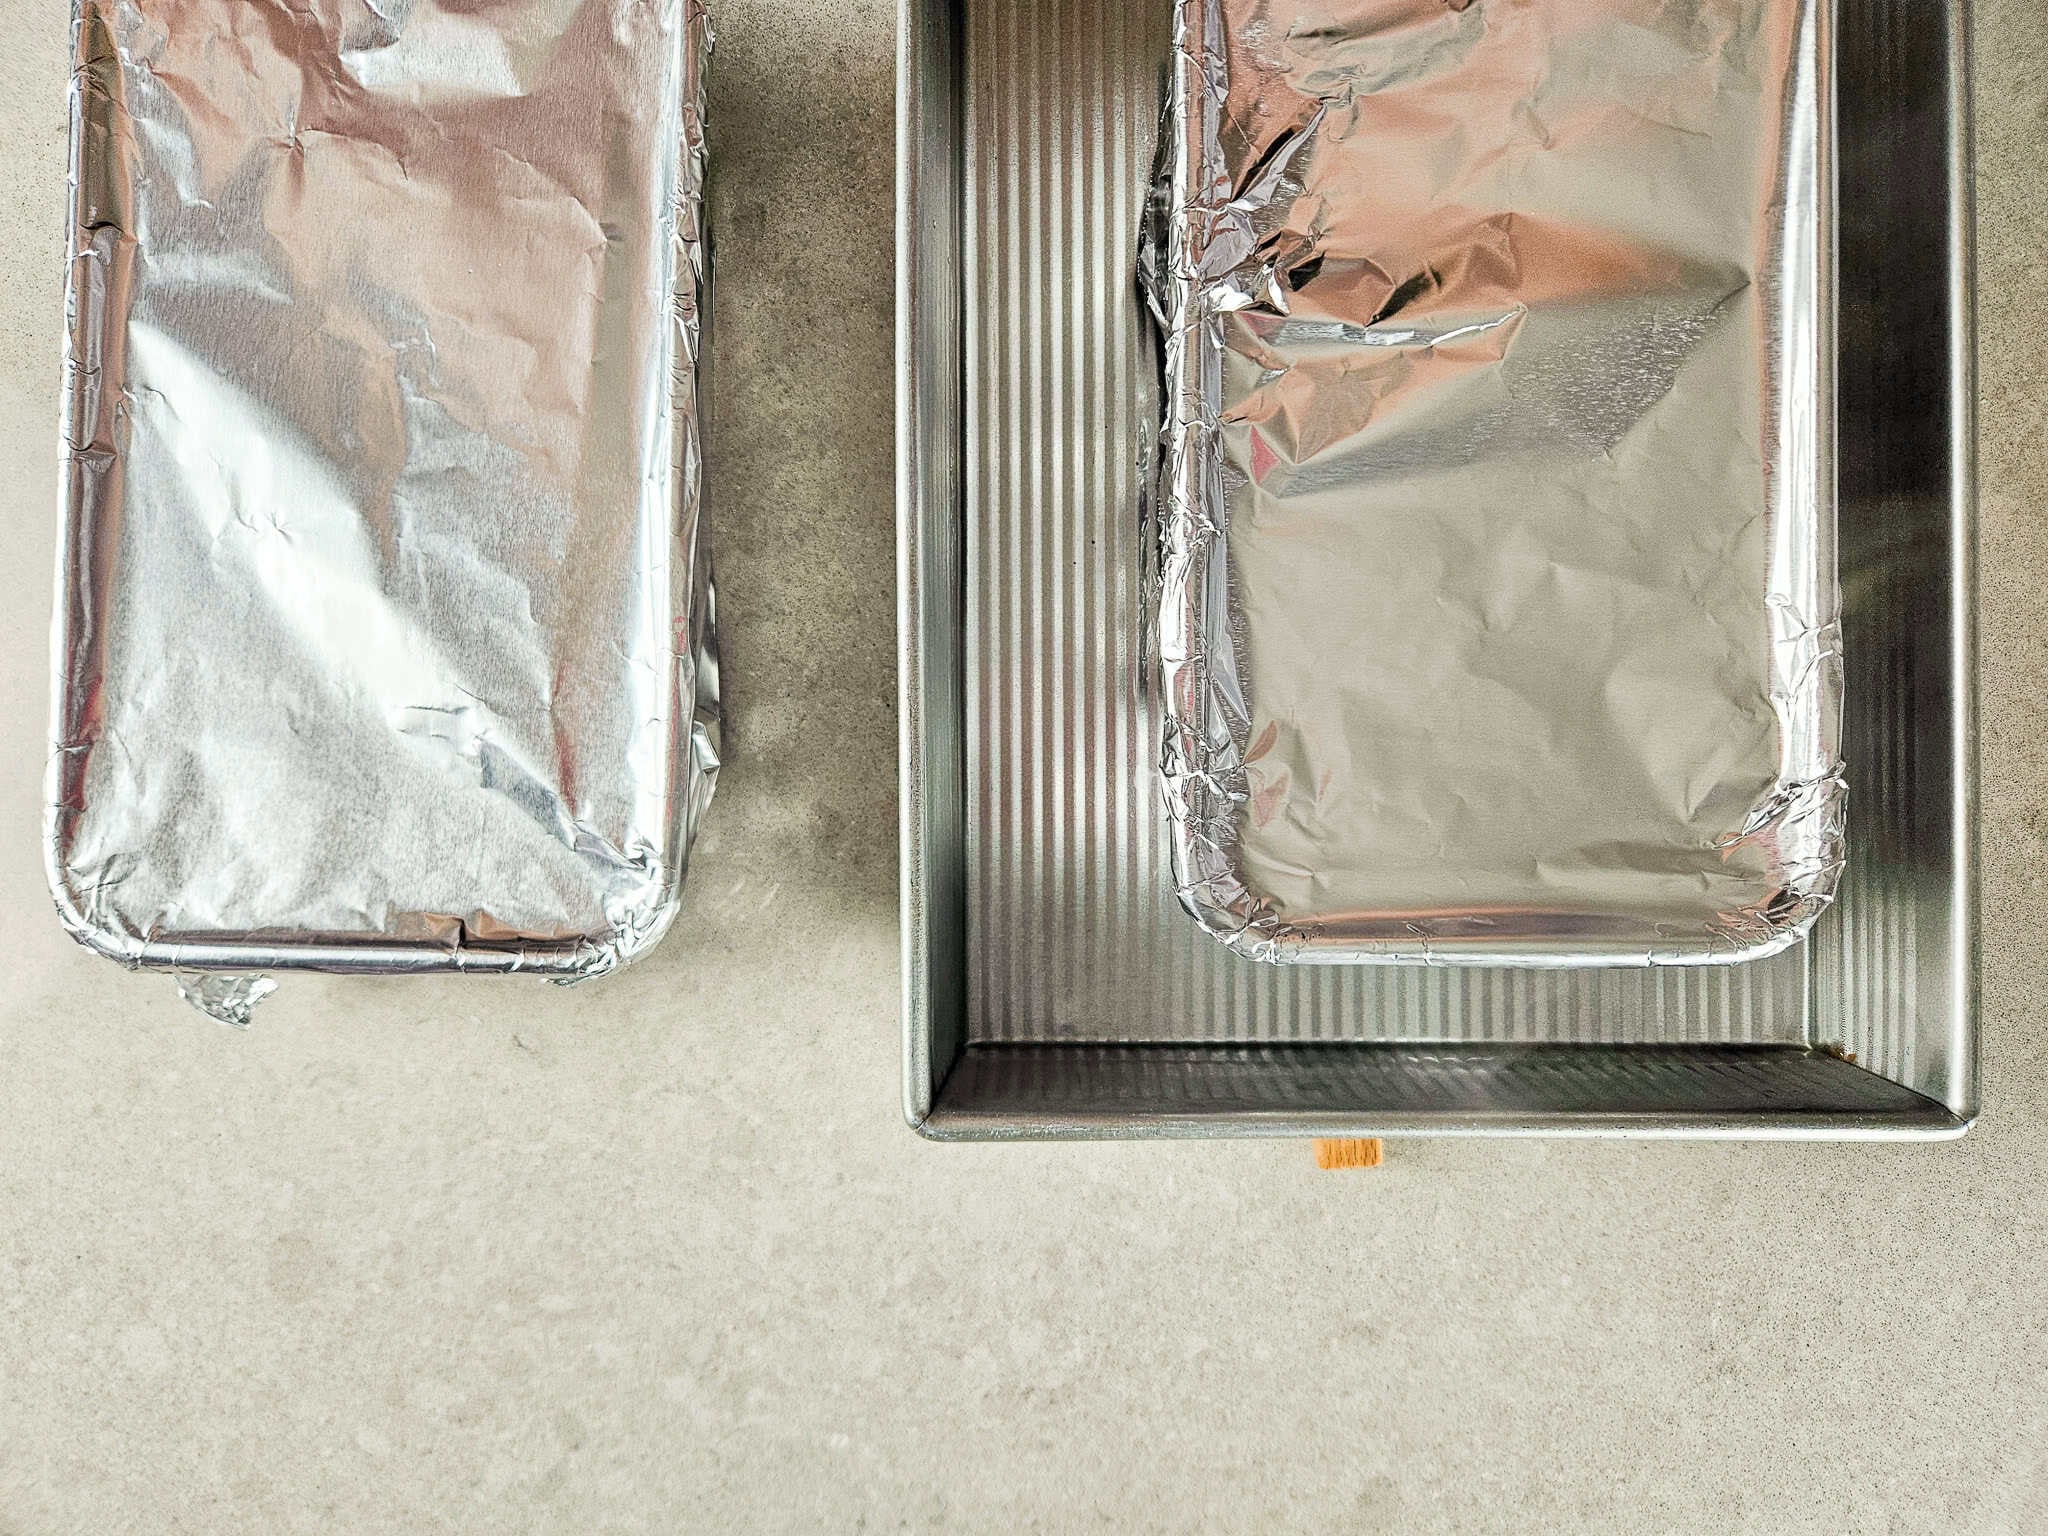
I split the recipe in half to test two baking techniques: baking straight in the oven and baking in a water bath (bain-marie). I wanted to officially prove which technique yields the best chi chi dango texture and flavor!
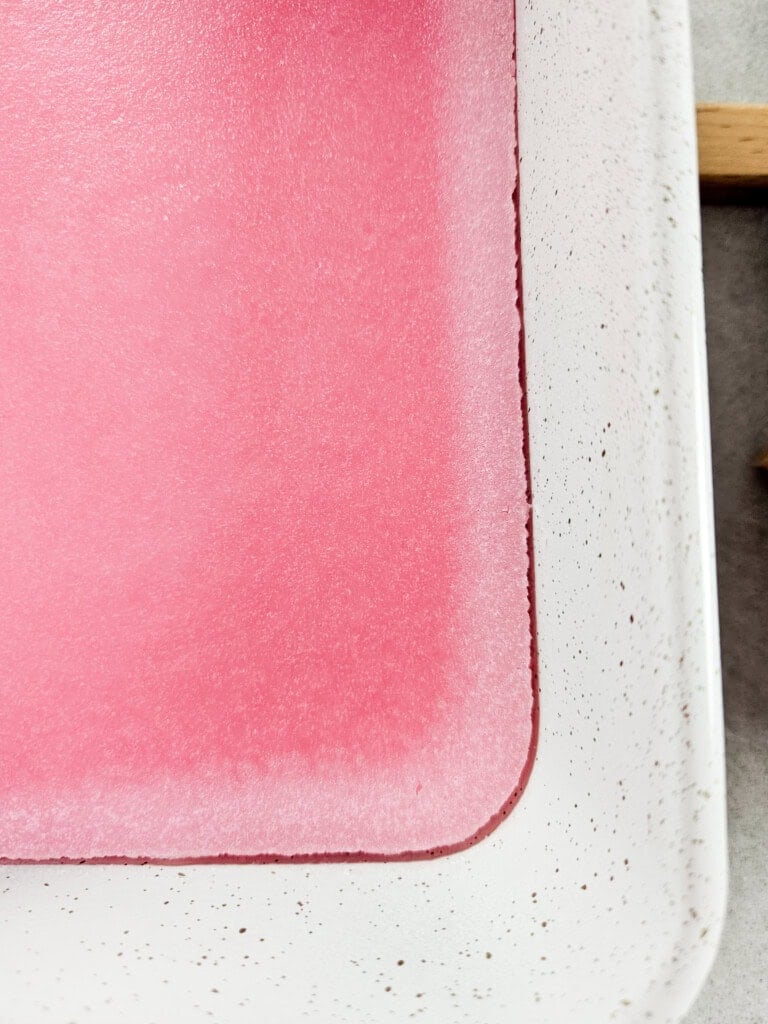
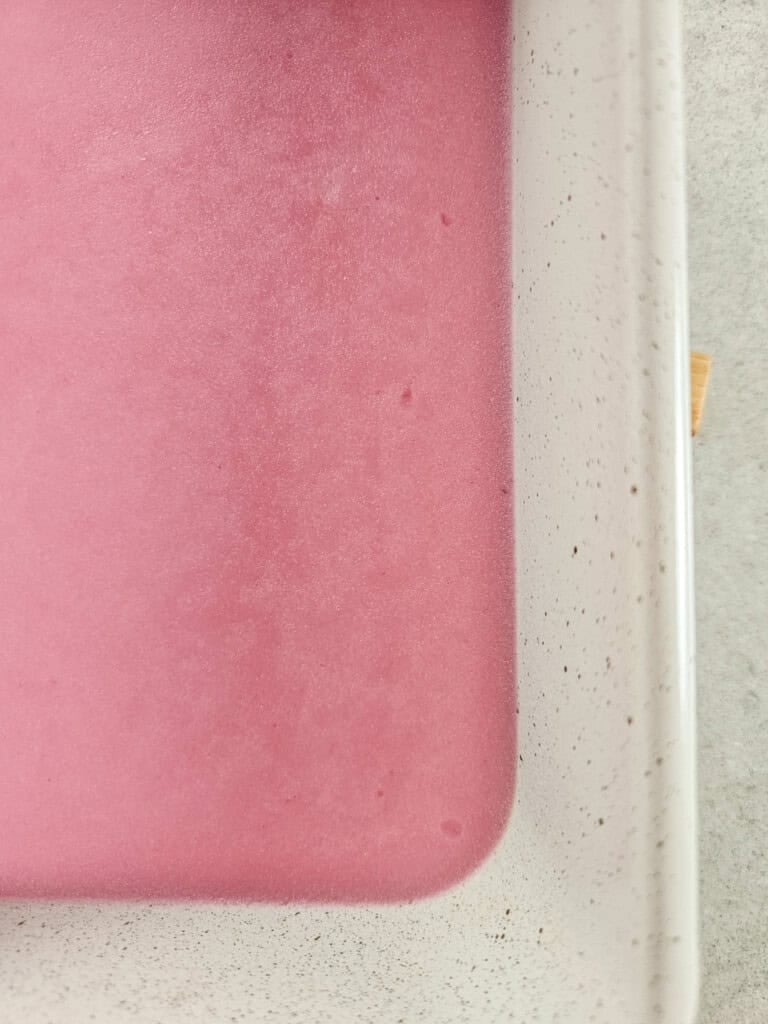
The initial differences between the two baked batches were immediately noticeable. You can clearly see how the edges from the dry-bake look much drier than those from the bain-marie. However, the dry-baked mochi colors look much more vibrant than the bain-marie mochi.
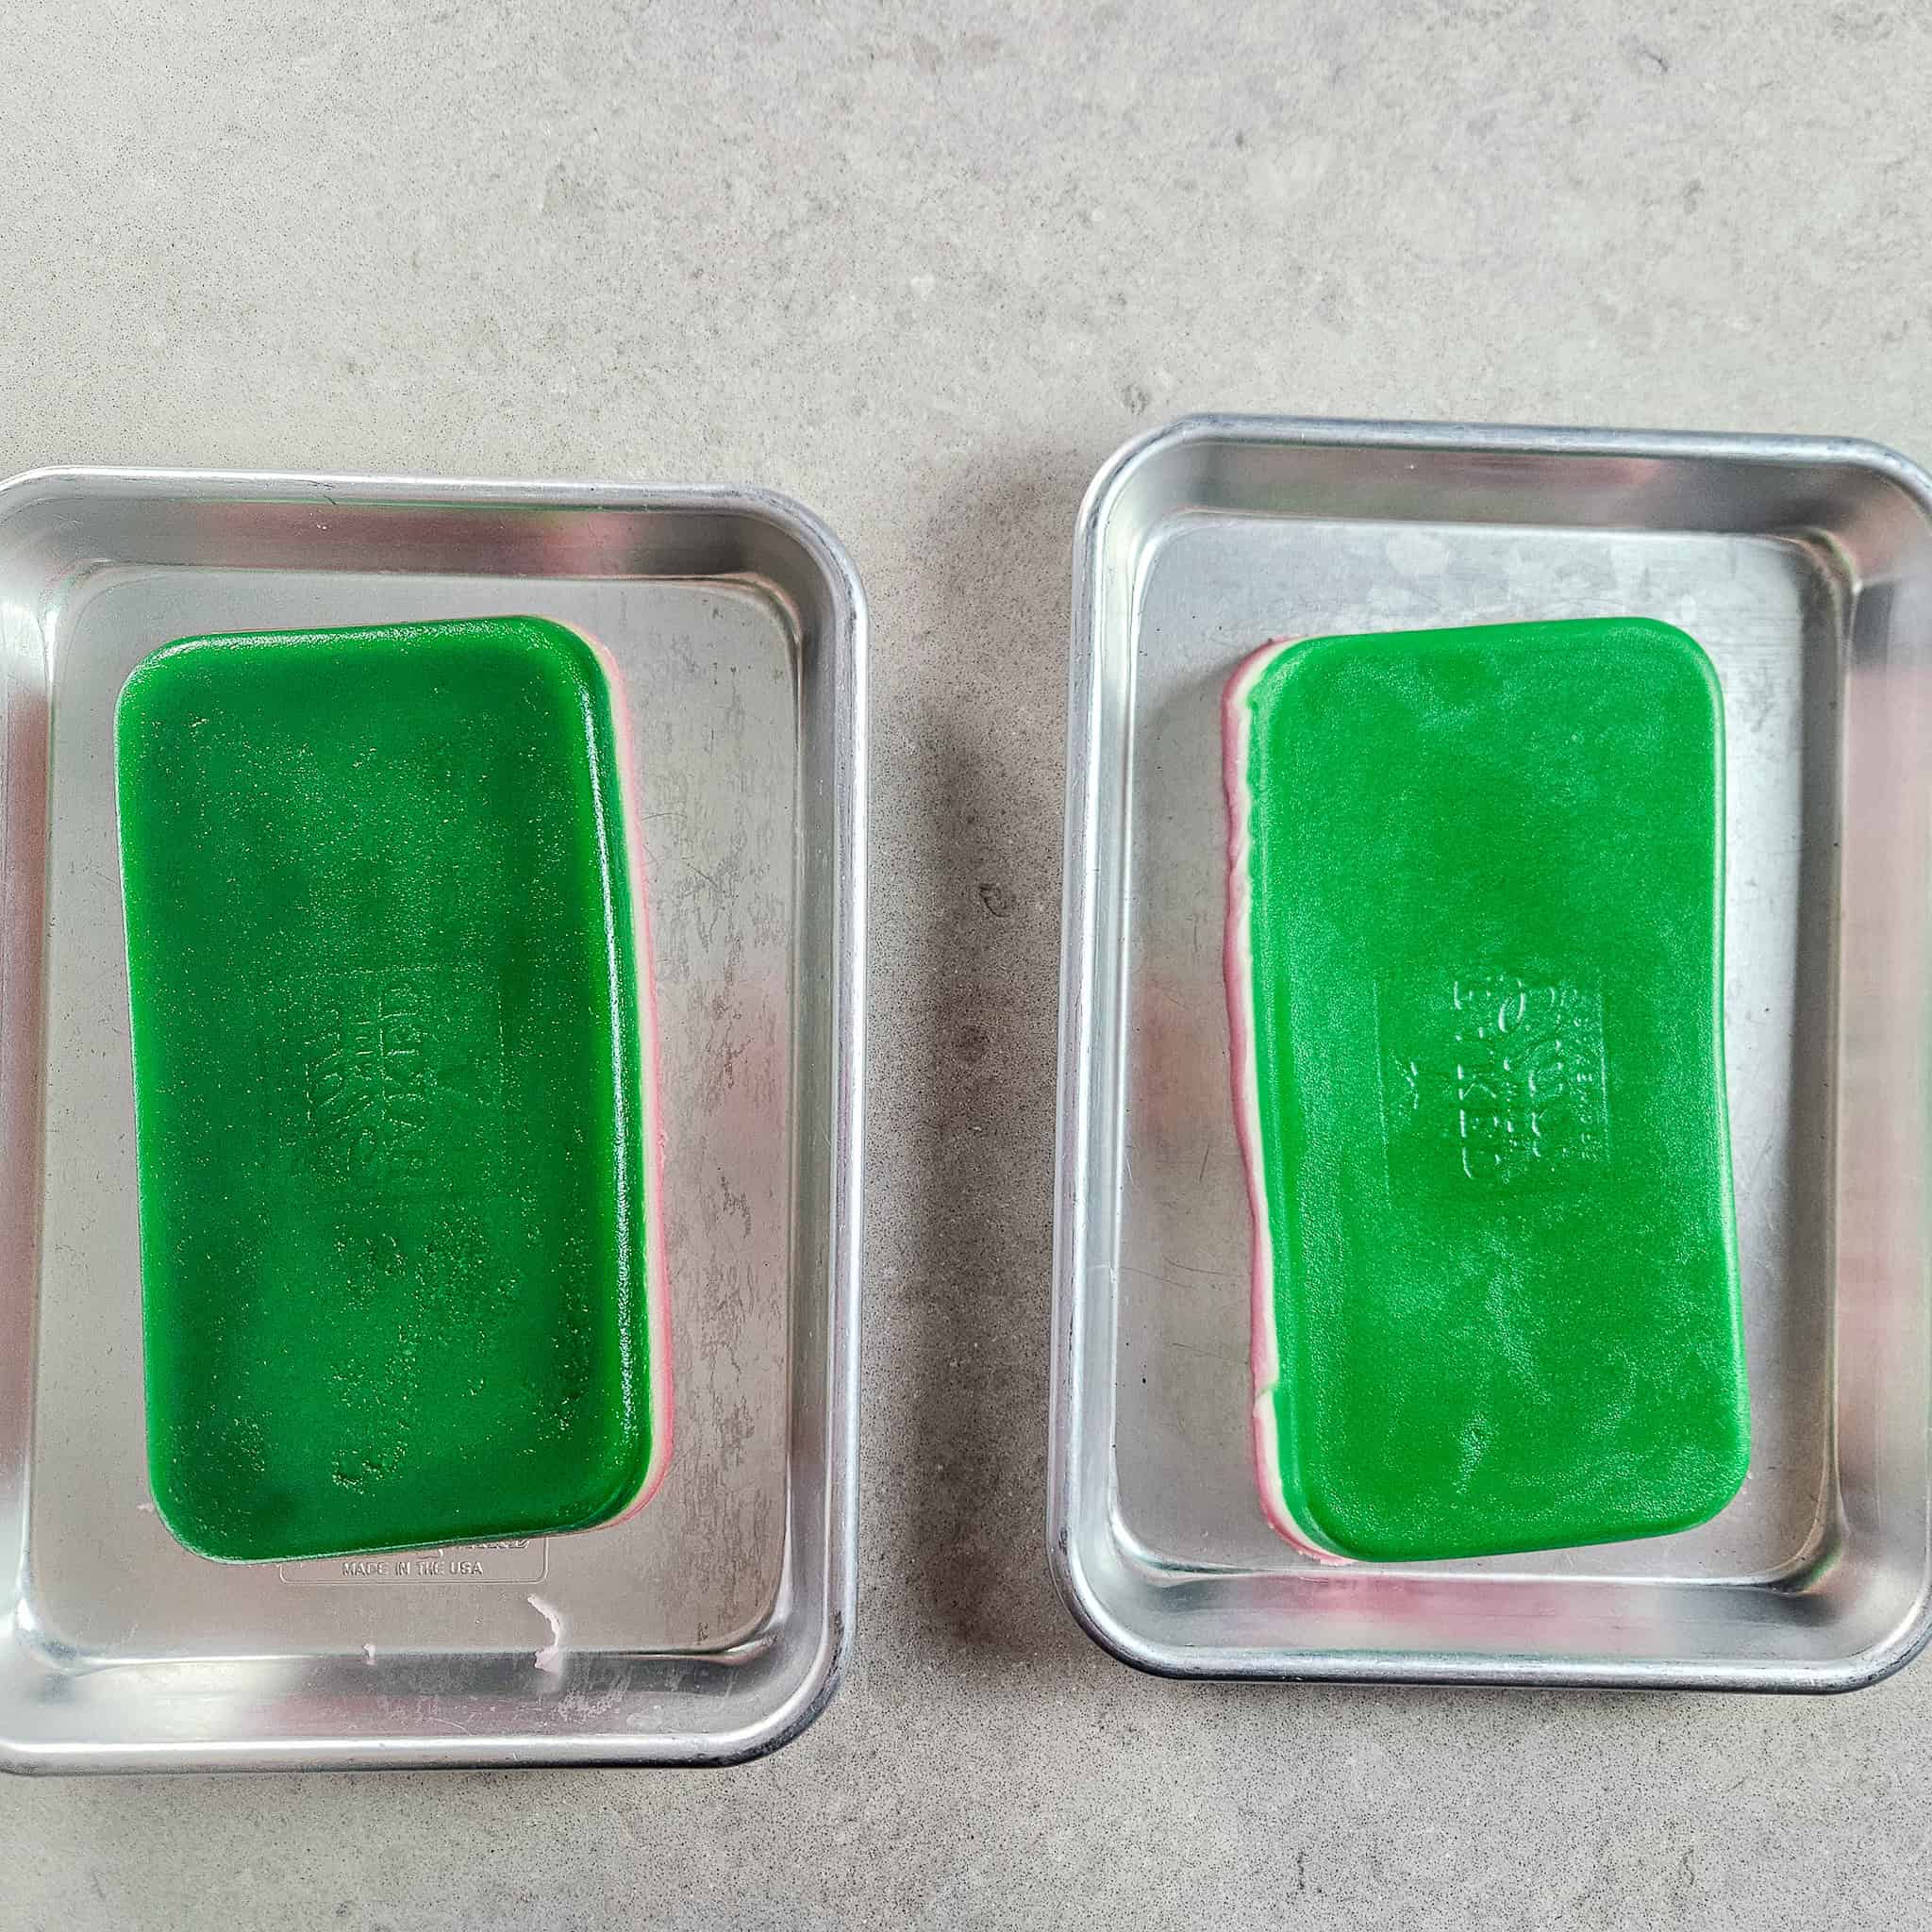
Test Winner: Dry Baking
There is a lot of talk about how edges get hard or overbaked when dry baking. But I find that the bain-marie method keeps things too wet. I had to bake the second and third bain-marie layers twice as long as the dry-bake layers. The total baking time for this current recipe using the bain-marie ended up being about 90 minutes over the 60 minutes for the dry bake method.
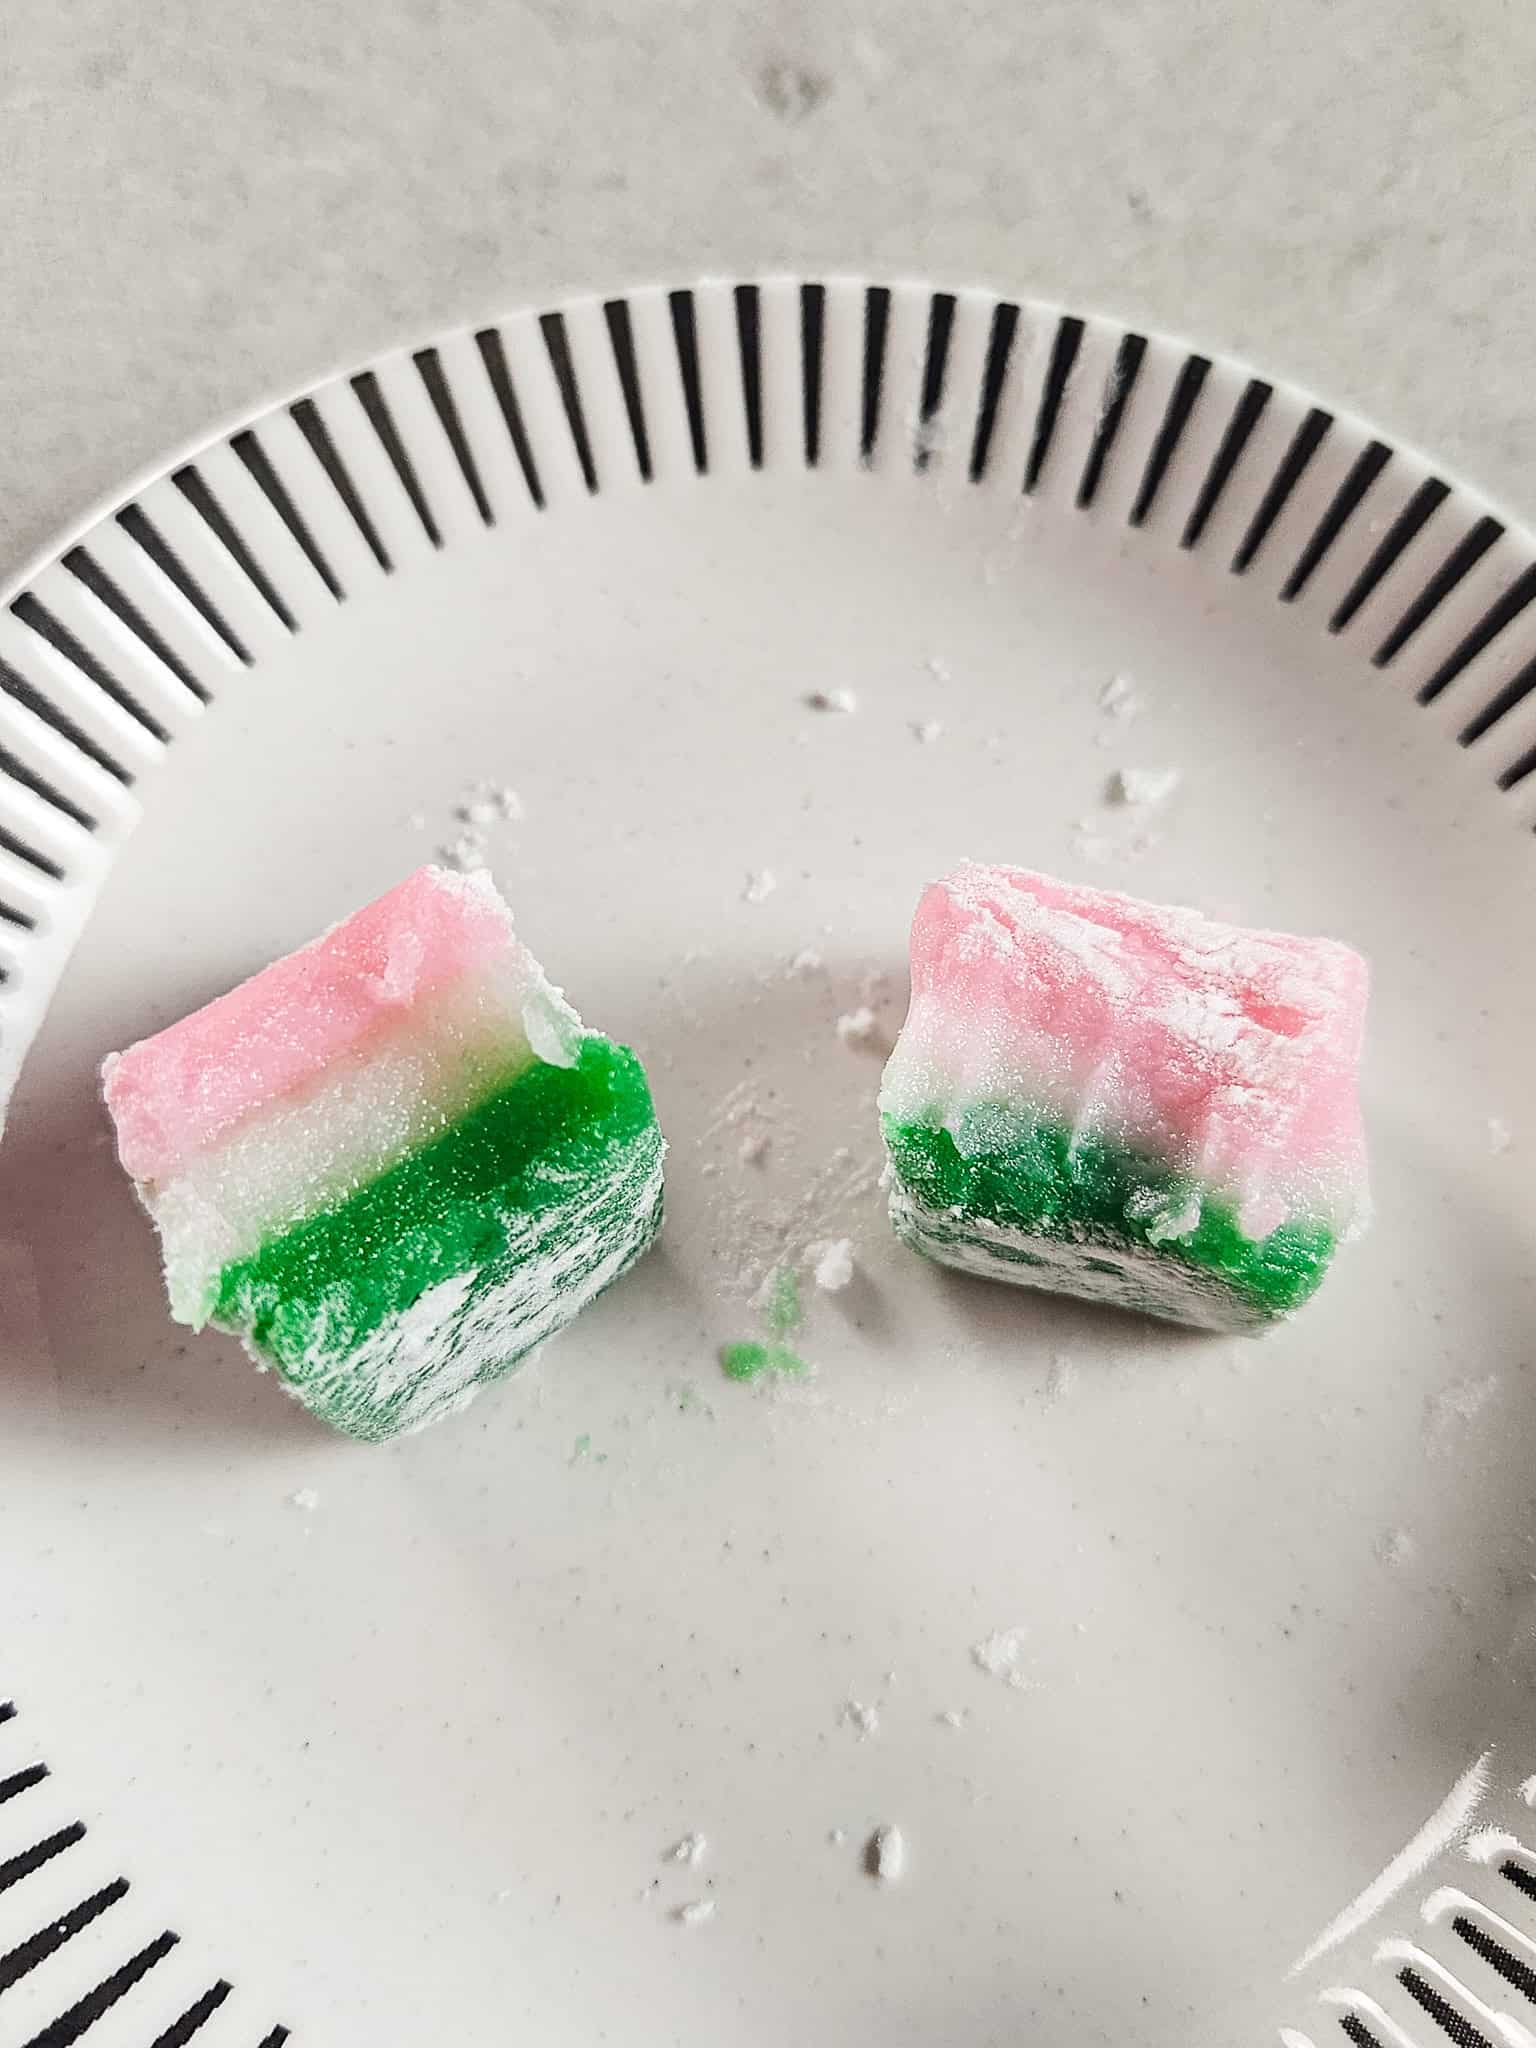
There was a big texture difference as well. I found the water doesn't evaporate as well in the bain-marie, even after I removed the foil. The mochi stays wet and dense, unlike the springy texture that dry baking provides. The difference in bite is evident: the bain-marie version has a melt-in-your-mouth, almost custard-like feel, while dry oven-baking delivers that nostalgic chewiness.
In the end, the bain-marie didn't produce a mochi texture, but rather a very soft rice cake. Different factors could potentially contribute to achieving the right texture such as using less water and adjusting cooking time. But in my experience, I'll take the relatively harder edges of the dry-bake method over the longer cooking time.
Recipe Tip For Even Layers
The best way to ensure even layers is to use a scale to weigh the chi chi dango batter when splitting it into three portions. For example, if the starting batter is 1620 grams, then each of the three portioned batters should weigh 540 grams. This is especially helpful when you are baking with a non-see-through metal pan.
Baking Spray Tip For Nonstickiness
I use baking spray with flour instead of regular nonstick cooking spray. It helps a lot with releasing the mochi from the pan and I *swear* it helps keep the edges from browning. The only caveat with this tip is that since the spray uses flour, the chi chi dango will no longer be gluten-free.
Cover Tightly When Baking
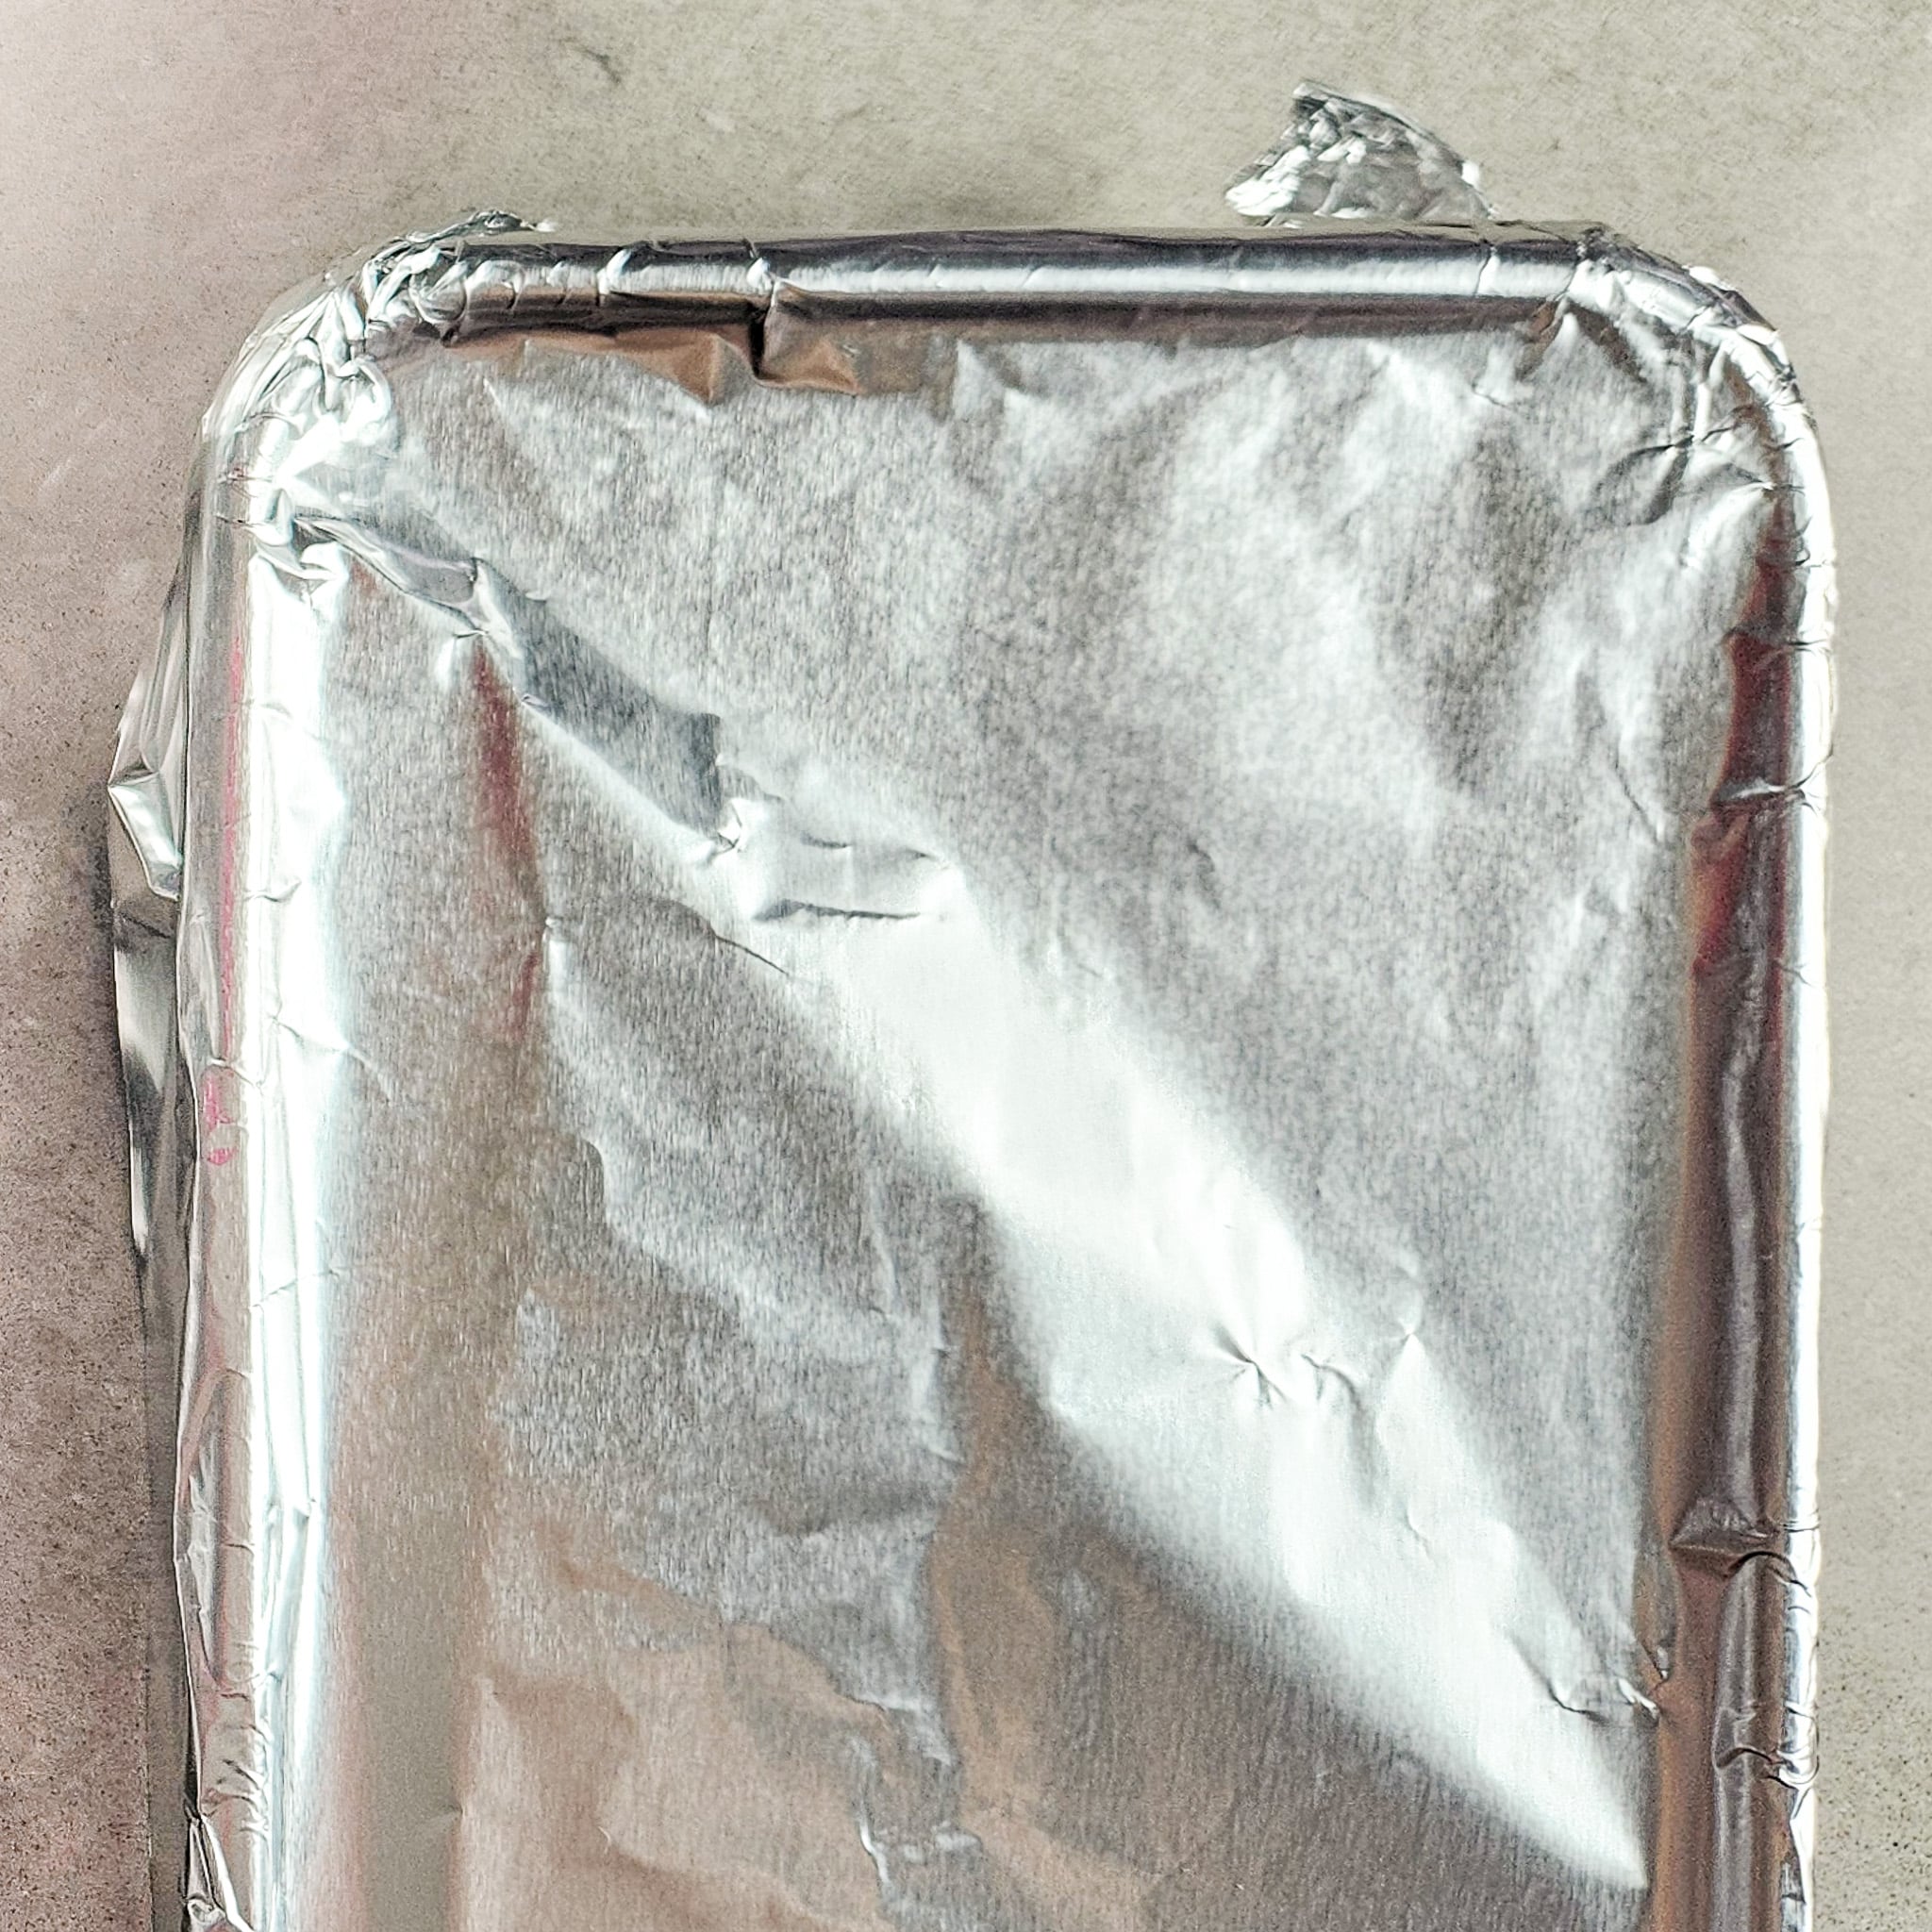
Use aluminum foil to cover the baking pan tightly when baking chi chi dango. The foil traps a little bit of steam to keep the mochi bouncy and stretchy. This technique also prevents the layers from forming a hard crust.
Variations
You can have lots of fun changing up the colors and flavors of chi chi dango. For example, using ube extract adds a purple color punch and flavor. Pandan extract amplifies the coconut flavor. Making solid-colored chi chi dango lets you skip the layering steps altogether.
FAQs
Chi chi dango only lasts for about one or two days at room temperature. It's best to serve it on the same day or the next day.
It's important to keep chi chi dango in an airtight container at room temperature to keep the mochi from drying out. The dry air in the fridge will suck out all the moisture from the mochi, making it hard and unpleasant to eat.
For chi chi dango, the texture of the potato starch goes better with the mochi because it's smoother and not as chalky. Cornstarch is an adequate option for a last-minute substitute.
Hawaii Local-Style Chi Chi Dango (Multi-Layered Mochi)

Disclosure
The equipment and ingredients sections contain affiliate links to products I love to use as well as items that I personally believe make this recipe the best version of itself.
Ingredients
- 1 box Mochiko flour Koda Farms Brand
- 1 ¾ cups granulated sugar
- 1 can coconut milk
- 1 ½ cups water
- red or pink gel food coloring
- green gel food coloring
- potato starch for dusting
Instructions
- Preheat oven to 350℉. Add the mochiko flour, sugar, water, and coconut milk to a large bowl. Mix all the ingredients together until smooth.
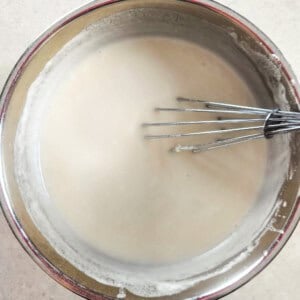
- Split the mochiko batter evenly into three bowls; each portion should weigh about 540 grams.
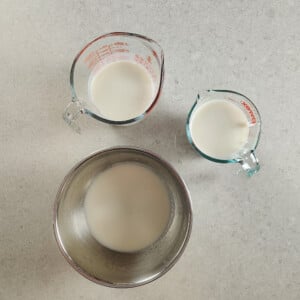
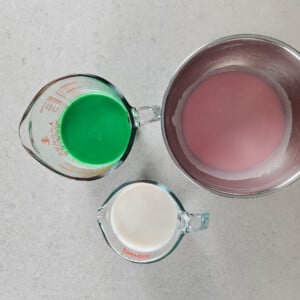
- Add two or three drops of green food coloring to one bowl and mix to incorporate the color.Add two drops of red (or four drops of pink) gel food coloring to a second bowl and mix well to incorporate the color. Leave the third bowl white.
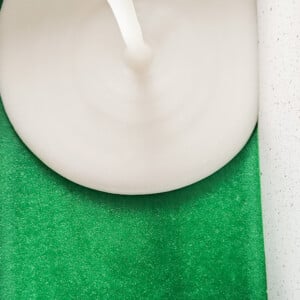
- Spray the sides and bottom of a 9x13 pan with baking spray with flour. Pour the green layer into the pan. Bake in the preheated oven for 15 minutes.
- Take the pan out of the oven and pour the white layer next. Bake for 15 minutes.
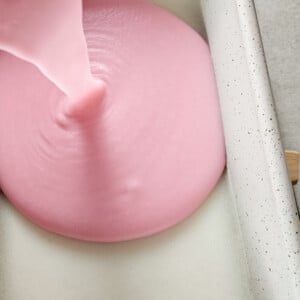
- Take the pan out of the oven and pour the pink layer. Bake it for 30 minutes.
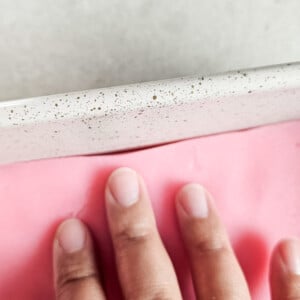
- Once baked, let it cool to room temperature, about 1 hour. If you used baking spray, the sides will release during the cooling stage. If not, gently pull the mochi away from the sides with your fingers, or run a thin, sharp knife along the edges.
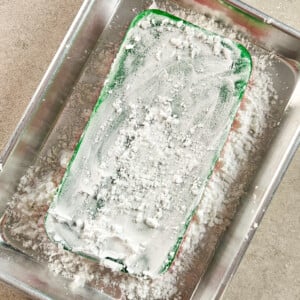
- Sprinkle some potato starch on top of the mochi and flip it upside down on a baking sheet. Add some more potato starch and gently spread it across the mochi.
- Use a pizza cutter to slice lengthwise first and then cut the mochi down to size, about 2 inches long by 1 inch wide.
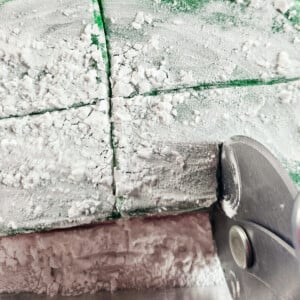
- Roll the pieces gently around in the potato starch to cover them.
Nutrition
Have You Tried This Recipe?
Simply rate the recipe by clicking on the ⭐️s on the recipe card. Have something to say? Please leave me a comment down below telling me what you think of this recipe.
Bonus: Let me and other readers know what you did to make this recipe your own - 💫 let's inspire each other!
Also, follow me on Instagram [@third.culture.taste] and send me a DM with a picture of what you made. I would love to share and celebrate YOUR creation with our budding community 💞
Check out Third Culture Taste on Pinterest and Facebook for more delicious updates.