Biko (Filipino Sticky Rice Cake)
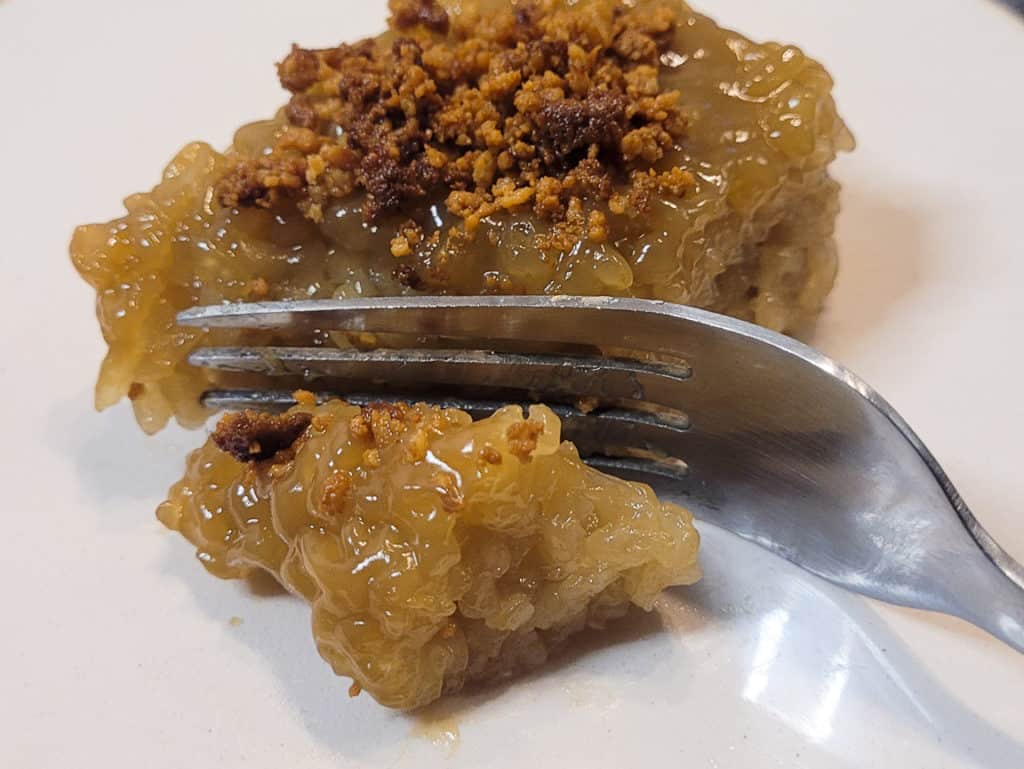
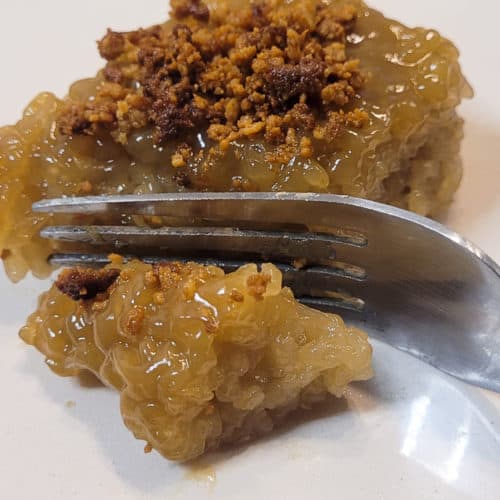
Biko is a Filipino sticky rice cake dessert made with three - yes, three - ingredients! My favorite part about biko is the topping called latik, a crunchy, nutty, uniquely flavored coconut curd topping. Keep reading if this sounds intriguing!
Update Disclosure: This post has been updated for one or more of the following reasons: easier reading, updated photos, clearer instructions, and just plain ol' improvements to the recipe (as noted).
Jump to:
What is Biko? Filipino Snack or Dessert?
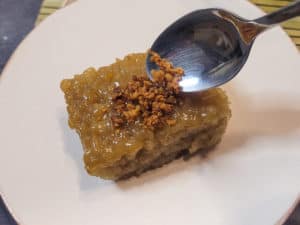
Biko is essentially a dark caramel-colored baked rice cake cooked with brown sugar and coconut milk. It uses glutinous rice or sweet rice, which makes biko's sticky, chewy texture. Biko is part of a group of rice items called kakanin, a term created for sweets made from either glutinous rice or glutinous rice flour. Biko is considered a Filipino dessert because of its sweetness.
Ingredients
Here are the few things you will need:
- Coconut milk
- Coconut Cream
- Brown Sugar
- Glutinous Rice
- Salt (to taste)
Substitutes
- Brown Sugar: You can also use rock sugar or white granulated sugar. This will change the taste and color of biko.
- Coconut Cream for Latik: If you don't have coconut cream, you can use coconut milk, it will just yield less latik.
Recipe Tips
- Be Gentle: Take care folding the rice with the caramel sauce. It can easily break down, and you'll end up with a mushy biko. The result of the folding should feature visibly separate grains that stick together.
- Wash Your Rice: Although this is more me than you, please wash your rice. I am with the mindset that you reduce starch from the rice and help the grains cook more evenly when you wash them.
Biko Variations
- Biko with munggo is biko made with mung beans. It can also include adzuki red beans for added color. This style of biko is also made with brown sugar, yet is lighter in color than the traditional version. Biko with munggo requires an extra step of soaking the mung beans or boiling them before mixing them with the glutinous rice.
- Ube biko is an answer to the growing popularity of ube flavor! During the cooking process, ube gets mixed with the glutinous rice. It adds an earthy flavor profile to the biko's caramel taste.
- Biko de Leche is another fusion favorite. It provides two of the best Filipino desserts - biko and Filipino flan. You cook the sticky rice and let it cool in a pan. While the glutinous rice sets, you make the flan batter and pour it onto the rice. To cook the flan, you use a steamer so the rice doesn't overcook during the process.
How to Make Filipino Biko
I was born in Luzon, the northern island of the Philippines, so I grew up eating biko with the latik version. In other parts of the Philippines, you don't eat it with latik. It's up to you on whether or not to skip making the latik.
Here is a quick overview of what you'll do:
- Make the latik topping.
- Cook the glutinous rice.
- Make the caramel sauce.
- Combine the rice and caramel sauce.
- Top it with more caramel sauce.
- Bake in the oven.
- Top with latik.
That's it!
How to Serve
Let the biko sit in room temperature so that it sets to its shape. Slice while it's closer to lukewarm temperature so it doesn't fall apart. Although you can spoon latik on top just before serving a slice, you can also pre-slice the entire pan, then add a spoonful of latik on each individual piece while they are still in the pan.
Since the primary ingredient of biko is sweet rice, it most likely has roots in China's Eastern Asian influence on the Philippines. My deep-dive research into this dessert told me that biko comes from bee koh, a borrowed (Chinese) Hokkien word for a sweetened cake-shaped glutinous rice. Filipinos aptly named it biko, adding coconut milk and brown sugar.
You can store biko once it's cooled completely in the fridge for a few days. After that, I recommend freezing it, then bringing it to room temperature before microwaving for about ten seconds to eat it.
Biko (Filipino Rice Cake) Recipe
Disclosure
The equipment and ingredients sections contain affiliate links to products I love to use as well as items that I personally believe make this recipe the best version of itself.
Ingredients
Rice Cake
- 1 ⅔ cups water
- 2 cups glutinous white rice
Caramel Sauce
- ½ teaspoon salt
- 1 can coconut milk 14 oz or 400 ml
- ¾ cup dark brown sugar
Latik (Topping)
- 1 can coconut cream 14 oz or 400 ml
Instructions
Make Latik
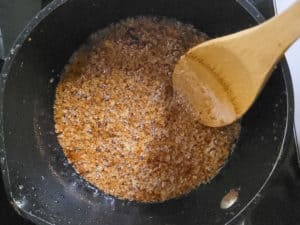
- In a sauce pan or a shallow pan, pour out the coconut cream. Bring the pan to a boil and continue boiling until it starts separating. Watch the boiling cream carefully as it forms brown bits in separated oil.
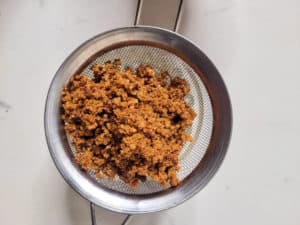
- Turn off the heat and pour into a deep bowl through a sieve. The sieve will catch the latik. Place the latik in a separate bowl and set aside.
Make Rice
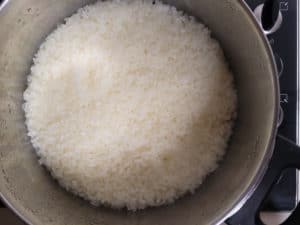
- Wash the rice 5 times. Then add the measured water to the white rice in a pot. Set the pot to high heat, and bring it to a boil. When it starts to boil, change the heat setting to low and cover the pot to let it continue cooking.
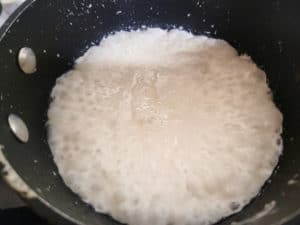
- The rice is cooked when all the liquid in the pot has evaporated.
Make Sauce
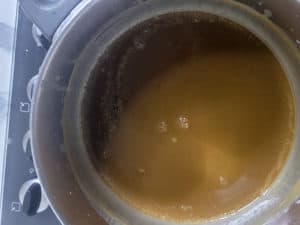
- In another pot, pour out coconut milk and add brown sugar then whisk. Set the pot on medium heat and bring the mixture to a boil. Continue boiling until thickened and turned a dark brown color.
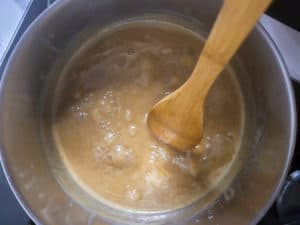
- Add the salt and mix until dissolved. Remove about ½ cup to reserve for the topping.
Cooking Biko
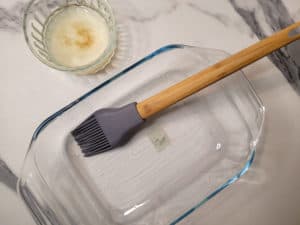
- Preheat the oven to 150°C (300°F) and prep a baking dish by brushing it with the coconut oil filtered from the latik.
- Set the pot of caramel sauce on low heat. Add the cooked rice to the pot of caramel sauce. Then fold the rice into the sauce carefully until well integrated.
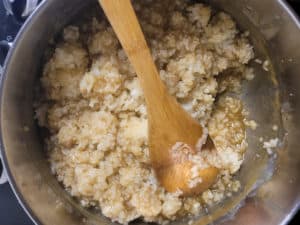
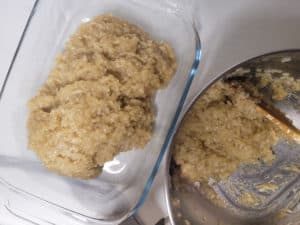
- Continue folding until the rice comes together. Remove from the heat and pour onto the prepared baking dish.
- Take the bowl of caramel sauce you set aside and spread it onto the sticky rice.
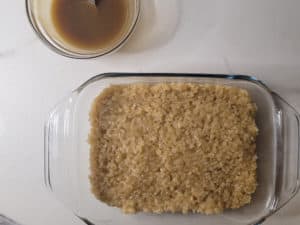
- Bake in the oven for 15-20 minutes. Allow it to cool after baking.
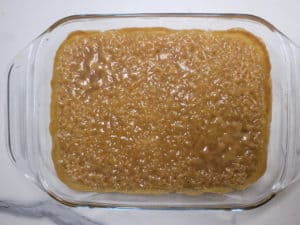
- Slice the biko into even squares and add some latik on top before serving.
Nutrition
Have You Tried This Recipe?
Simply rate the recipe by clicking on the ⭐️s on the recipe card. Have something to say? Please leave me a comment down below telling me what you think of this recipe.
Bonus: Let me and other readers know what you did to make this recipe your own - 💫 let's inspire each other!
Also, follow me on Instagram [@third.culture.taste] and send me a DM with a picture of what you made. I would love to share and celebrate YOUR creation with our budding community 💞
Check out Third Culture Taste on Pinterest and Facebook for more delicious updates.