
Layered Ube Haupia Pie (Hawaii-Style Coconut Pie)
Disclosure: Some of the links in this post are affiliate links. This means if you click on the link and purchase an item, Third Culture Taste will earn a commission at no extra cost to you. See terms and conditions for details.
Growing up in Central Oahu, heading to the North Shore for a slice of Ted’s Bakery haupia pie was always a trek. Haupia pie was the first ever local dessert I recreated when I moved away. This ube haupia pie recipe brings together two of my favorite flavors: creamy coconut and sweet ube.
Jump to:
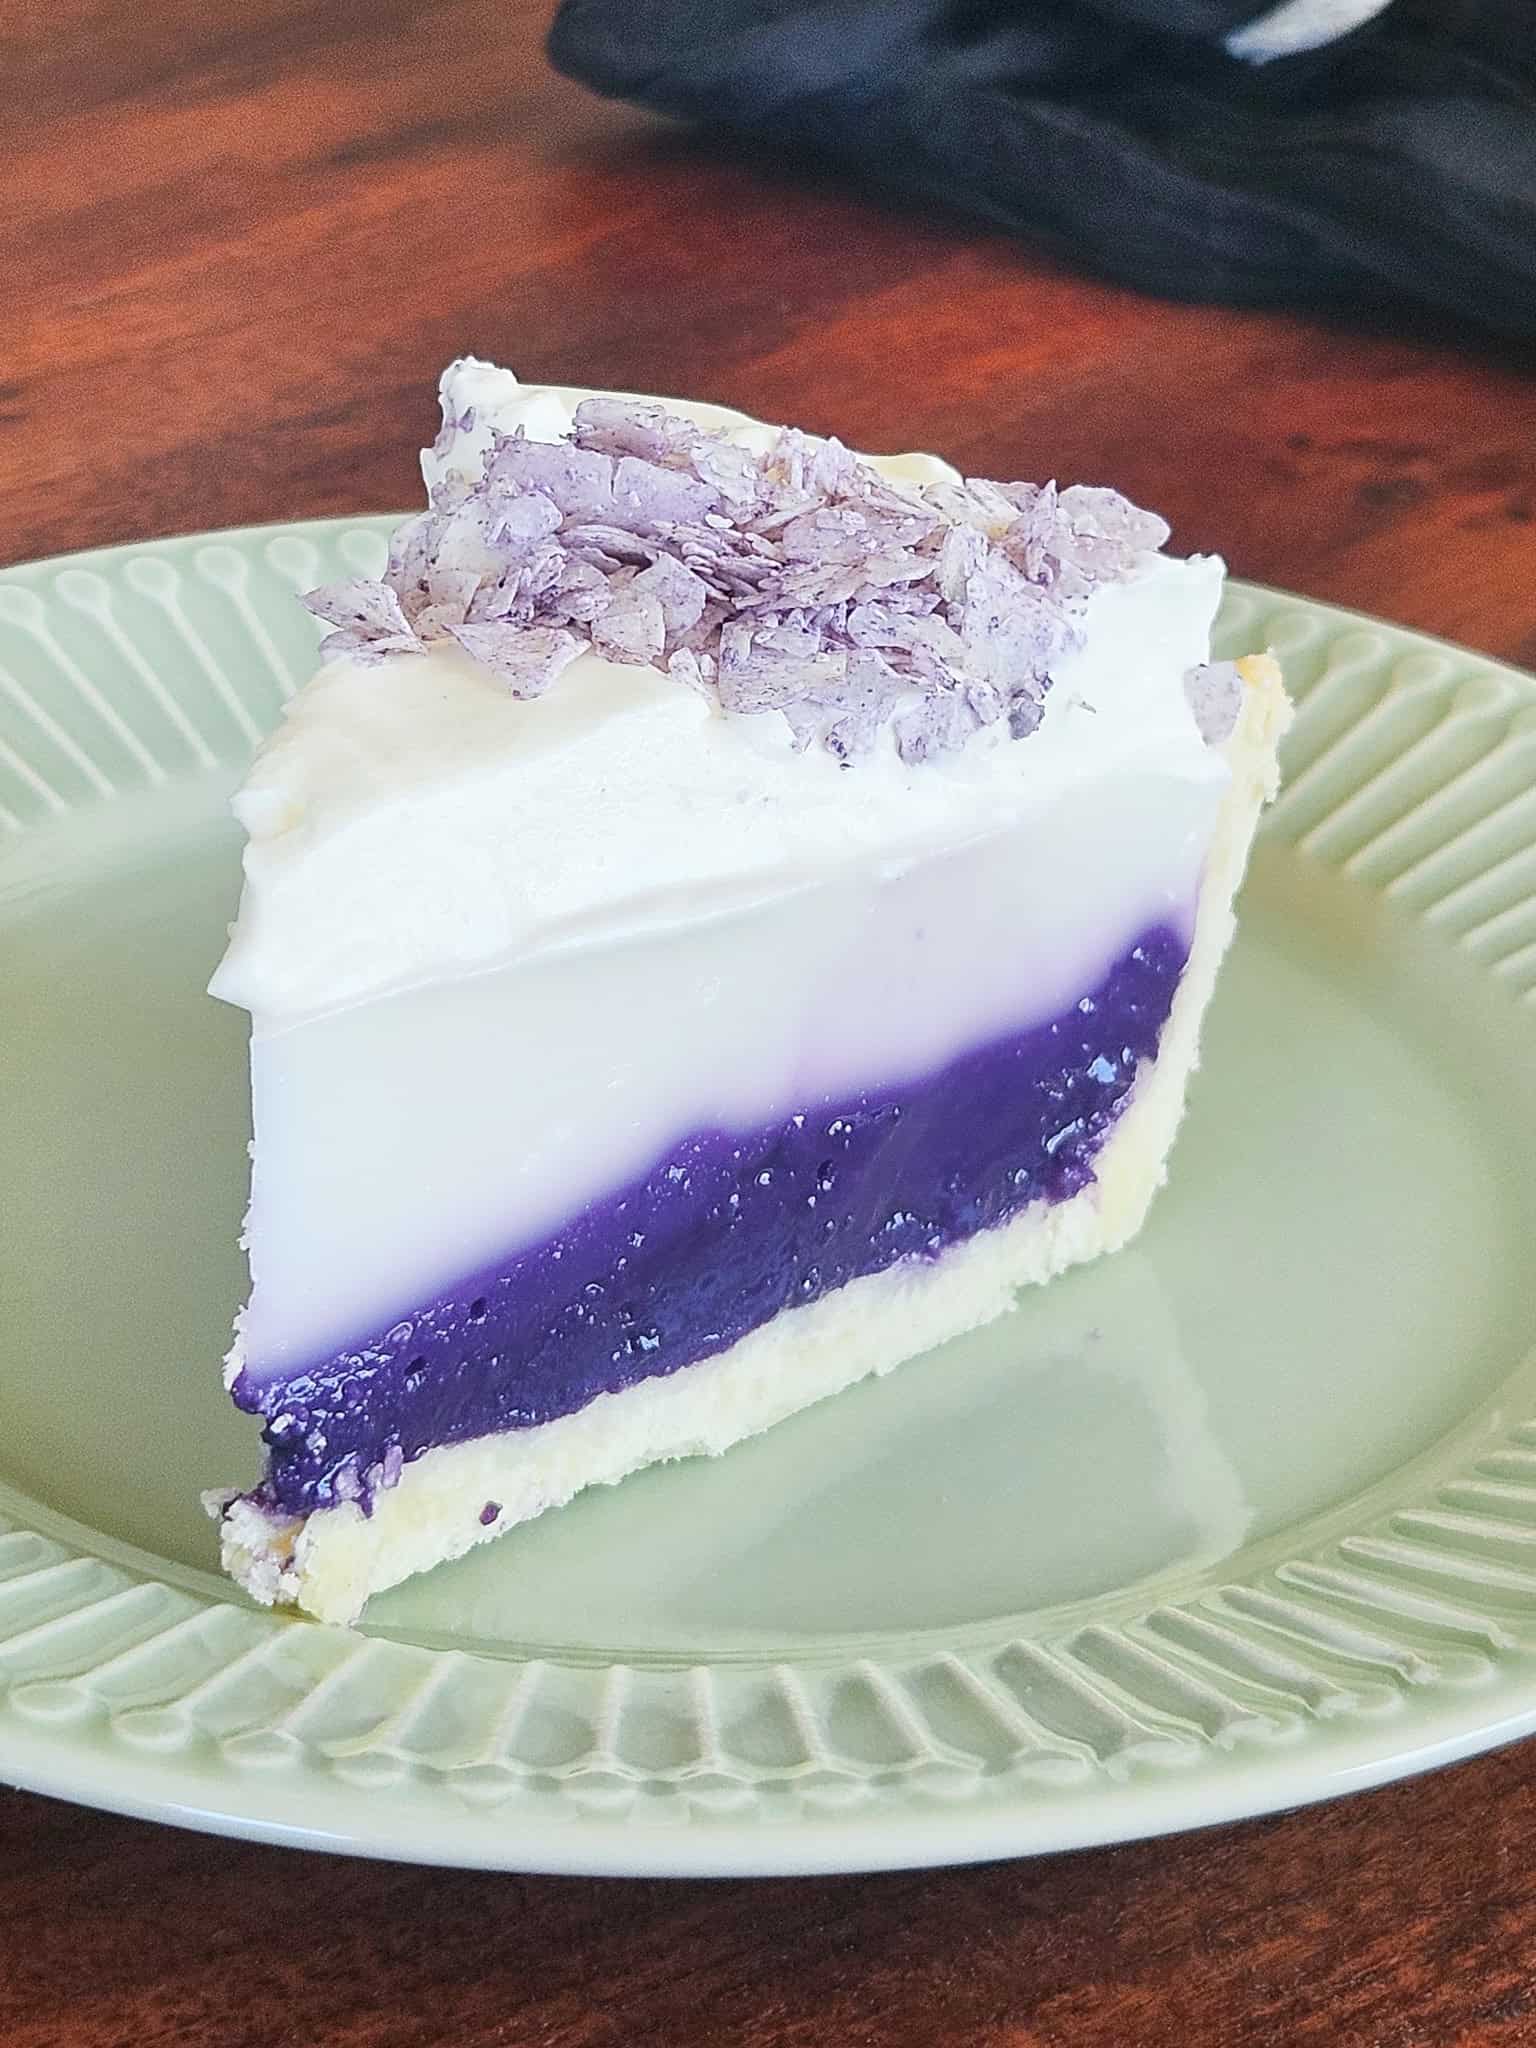
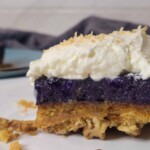
Coconut pudding (haupia in Hawaiian), is the perfect flavor pair for ube, so it was a natural choice to make an ube haupia pie recipe! I didn't change much from the original haupia pie recipe except for adding ube halaya and ube extract. When you slice into the pie, it reveals a gorgeous layer of deep purple and white!
Hau Means "Cool"
Hau in haupia means "cool", and pia means "arrowroot" - the traditional ingredient used to thicken the coconut milk. Which meeeaannnssss... the filling of this pie is no-bake!
Special Ingredients For This Recipe
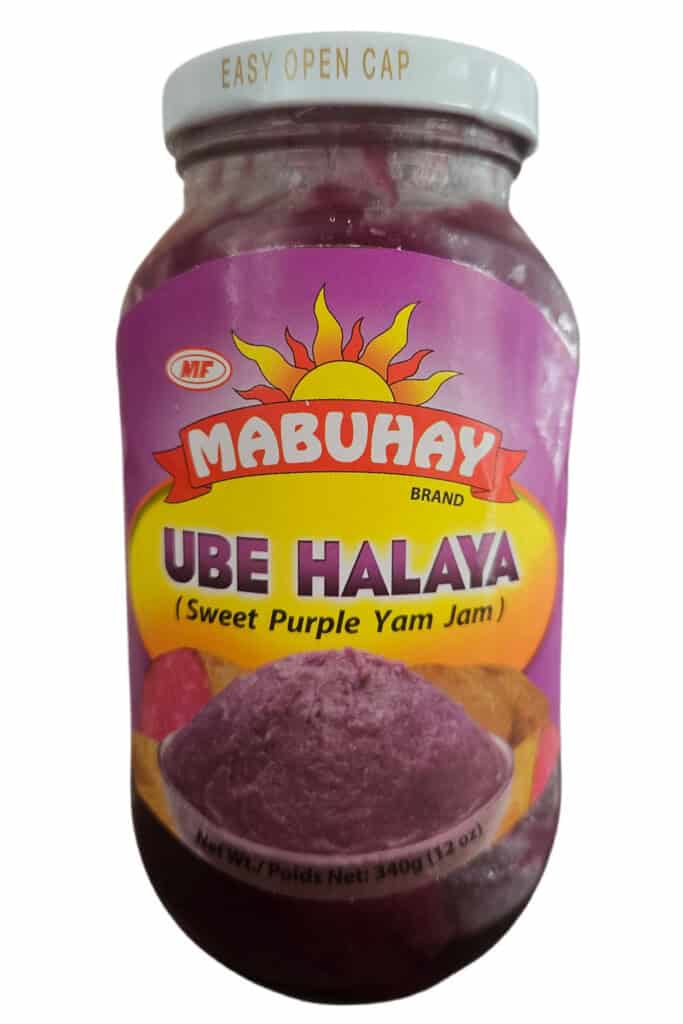
Ube Halaya
I like using the Mabuhay brand because it's made with simple ingredients.
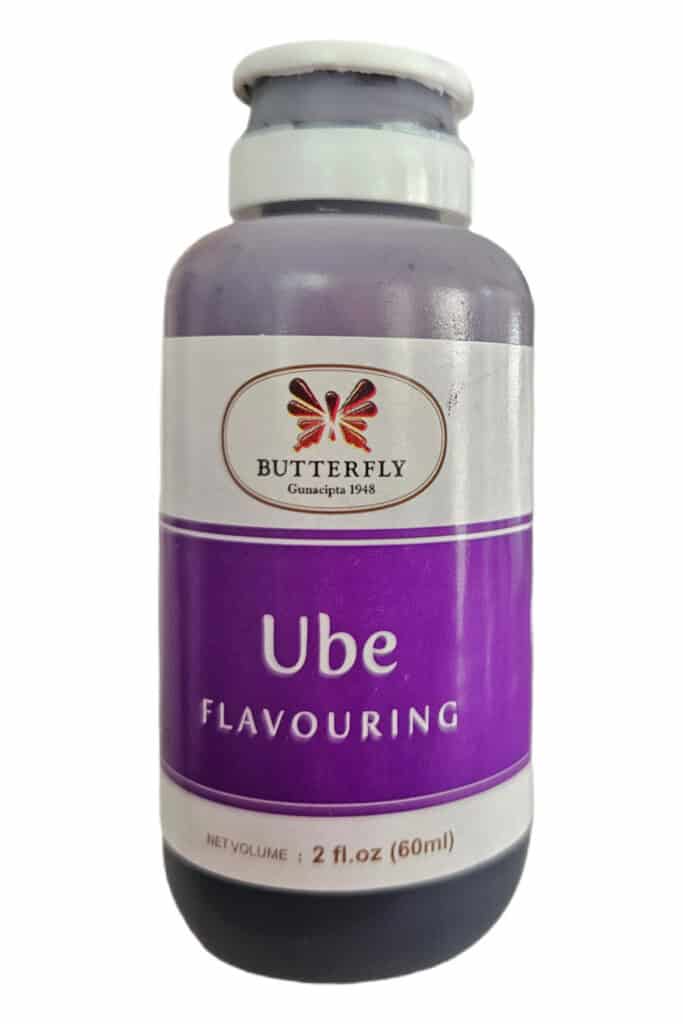
Ube Extract
For ube extract, you can find the brand Butterfly both at Asian grocery stores and online.
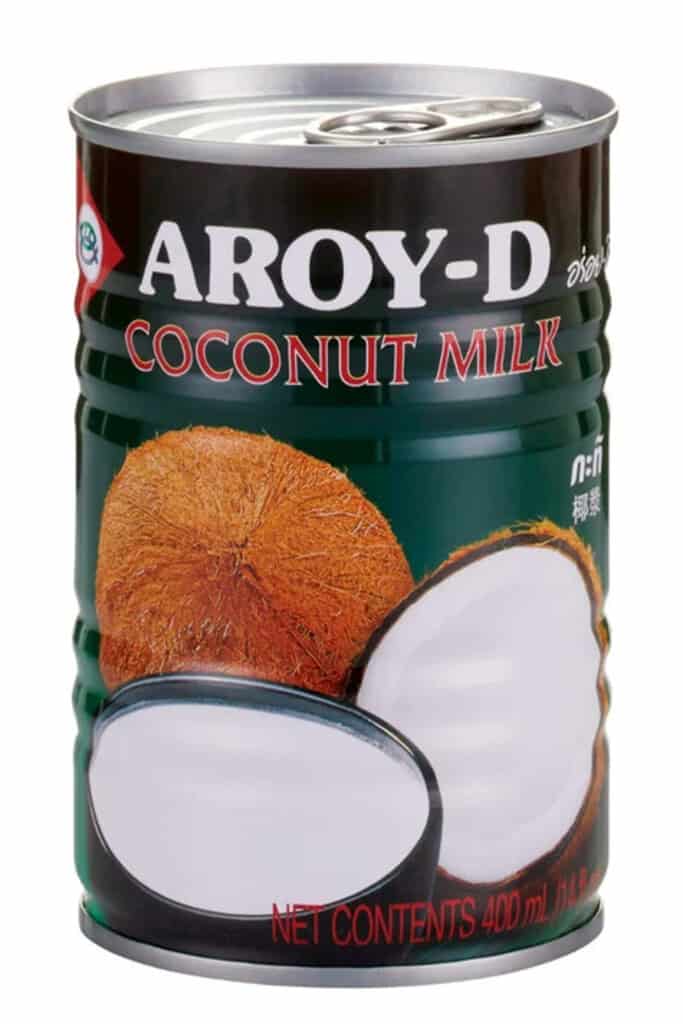
Coconut Milk
You'll need full-fat canned coconut milk from brands like Aroy-D or Chaokoh, which you can find at the Asian section of your large grocery store.
BIG NOTE ON FAT CONTENT: Full-fat is necessary when it comes to structure and making clean-looking layers in the pie. Some coconut milks, like the ones labeled 'Lite,' have only half the fat content. Lite also means more water, resulting in less structure and making it very likely that the layers will bleed into each other.
Substitutes
- Ube Halaya: If you can't find ube halaya at all, then you can just use ube extract in the recipe. You'll have to split the cooked haupia into two batches, one plain and the other, flavored with ube extract.
Tips For Making Ube Haupia Pie
Shortbread Crust
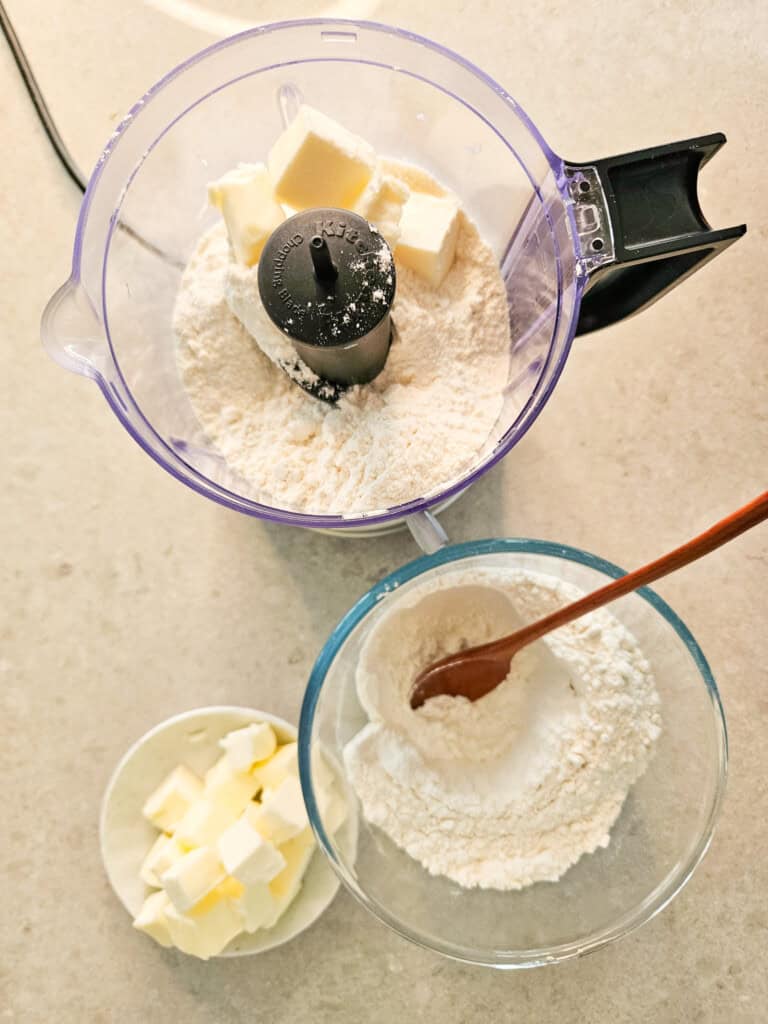
- Whisk the flour and salt together in a bowl first, then layer it with the sliced butter pieces in the food processor. Start with a layer of salted flour, then butter pieces, and repeat. These layers distribute the butter evenly in the food processor.
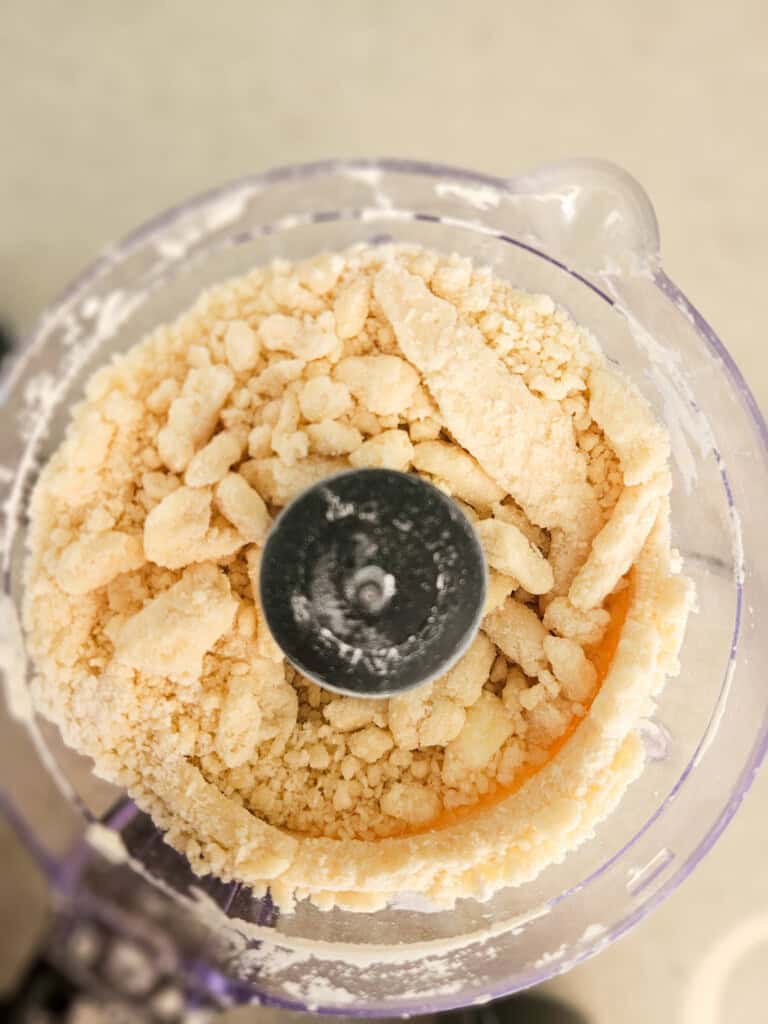
- Once you start pulsing, the mixture will look sandy at first and you can stop when it starts making big chunks. Turn the food processor bowl over into your prepared pie dish.
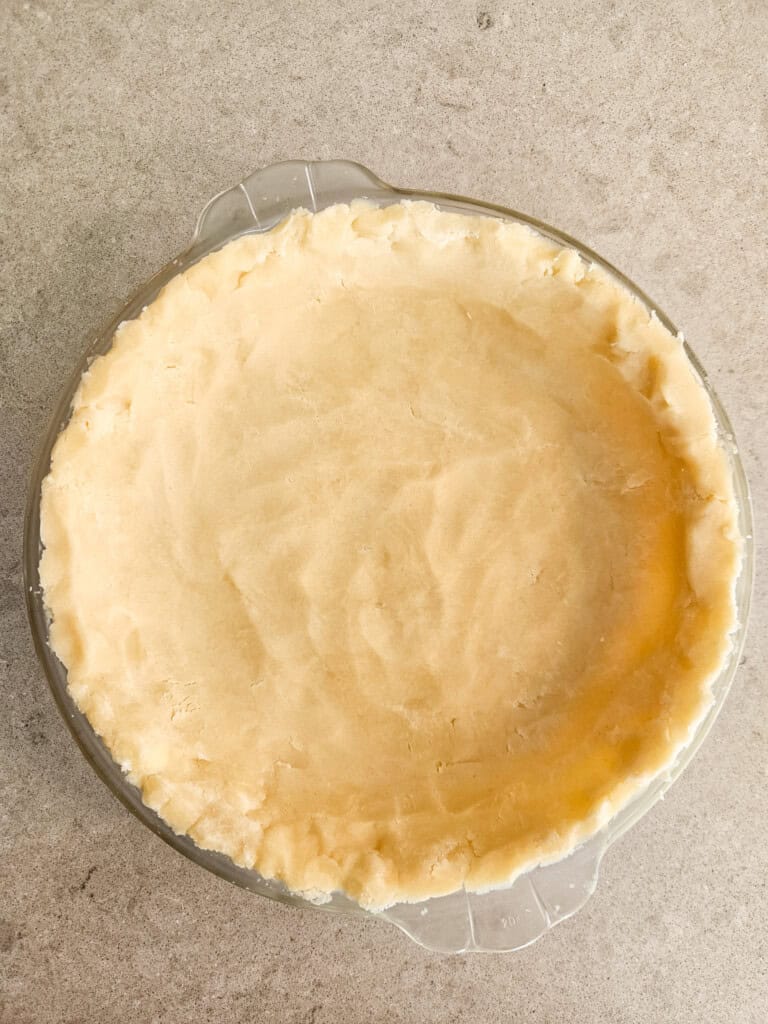
- Press the chunks into the pie dish with your hands first, then use the back of a spoon and make short pressing strokes across the surface to smooth out the texture.
Haupia Filling
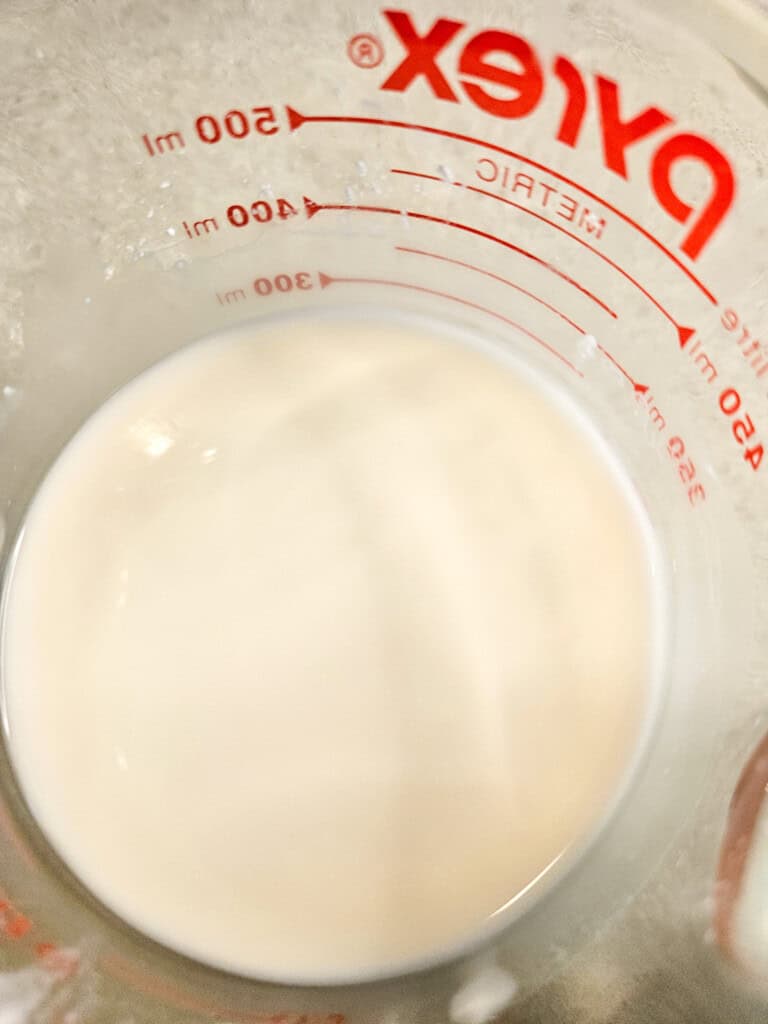
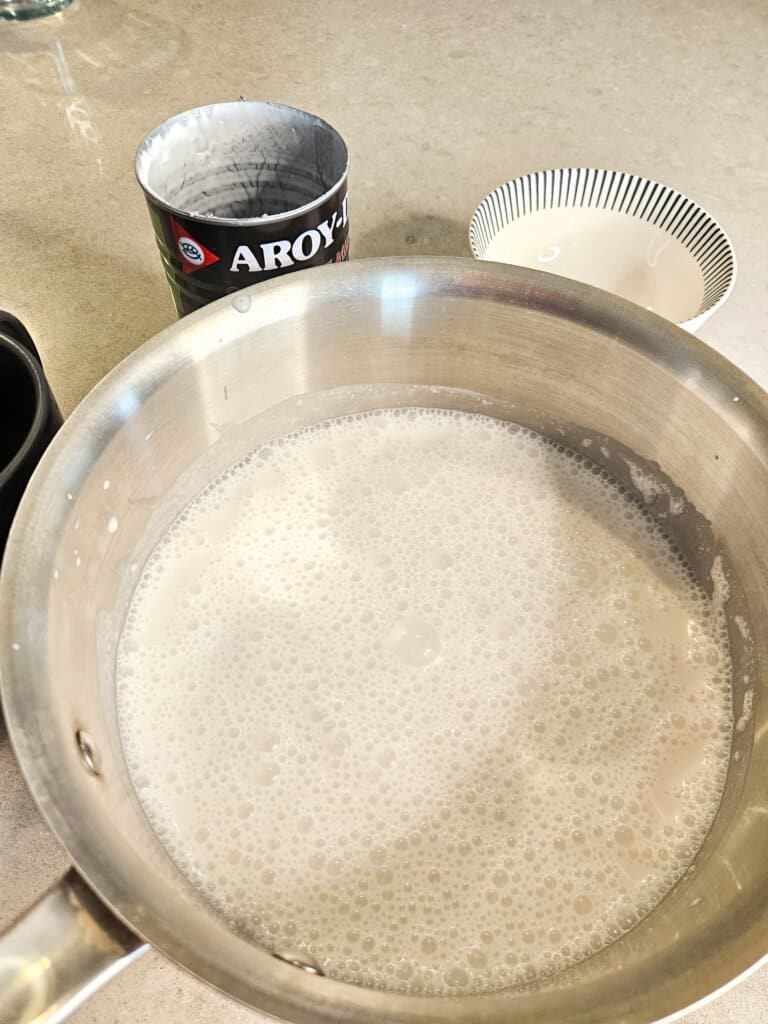
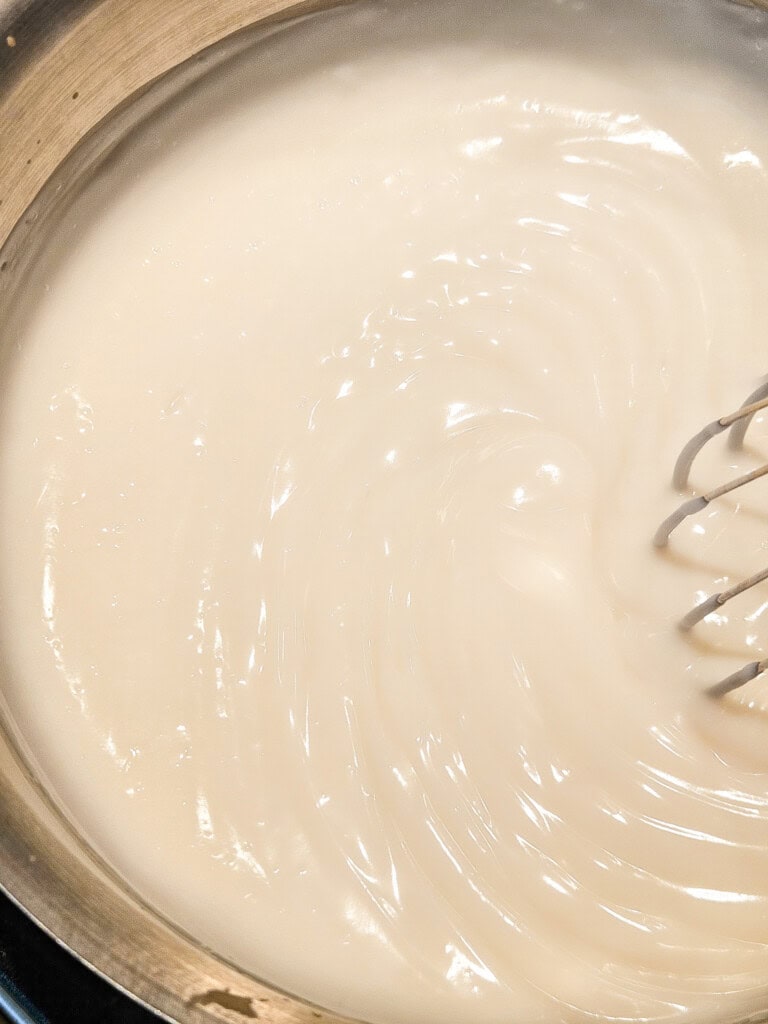
- Make sure you have that cornstarch slurry smooth and ready to pour into the milk and coconut filling heating in the pot. It's hard to smooth out cornstarch chunks once they are in the coconut milk.
- Use a whisk and stir the coconut pudding once you pour in the cornstarch slurry. I would say try not to blink, because the pudding will thicken in less than 60 seconds.
- The pudding will start to resist your whisk a little bit as it thickens and makes deep ribbons. Once it starts making those thick ribbons, remove the pot from the heat.
Ube Haupia Filling
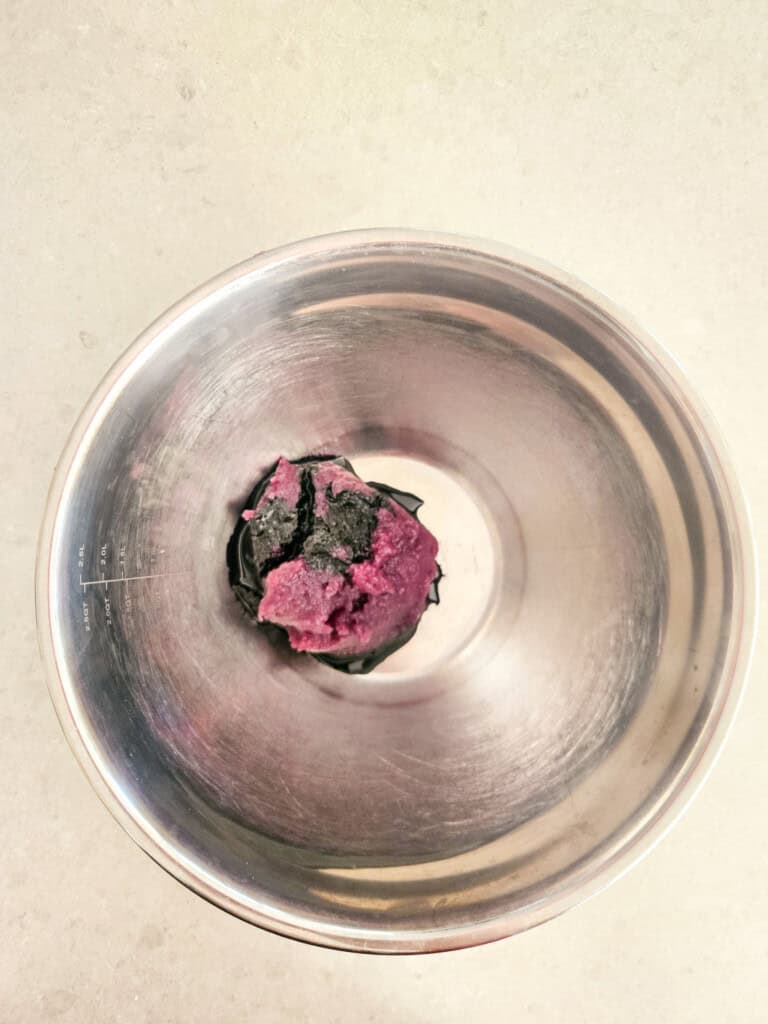
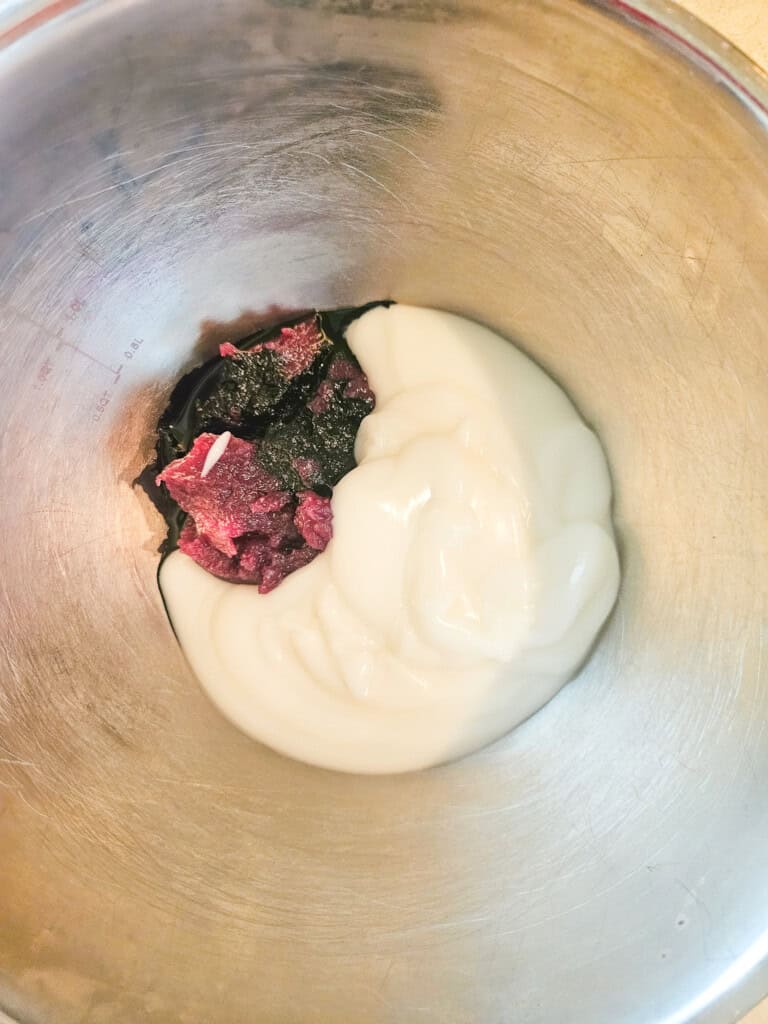
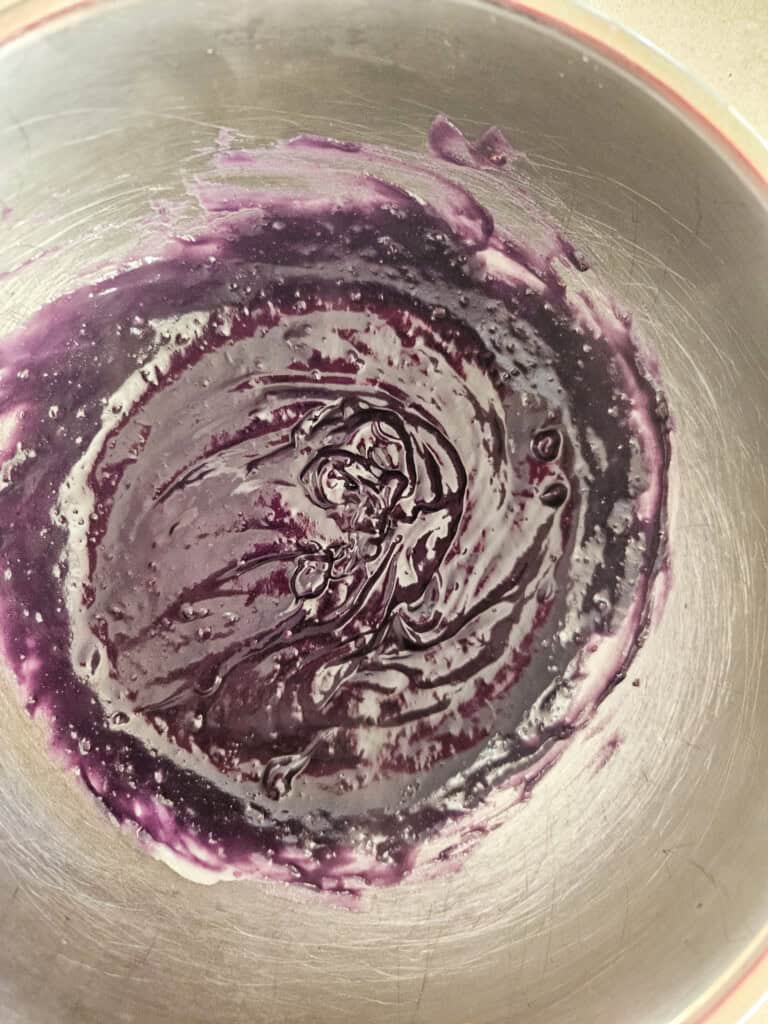
- Prepare a bowl with the ube halaya and ube extract *before* you begin cooking the haupia. You don't have to mix it just yet. Set it near your cooking area. Once the coconut pudding cooks, you will have to act fast.
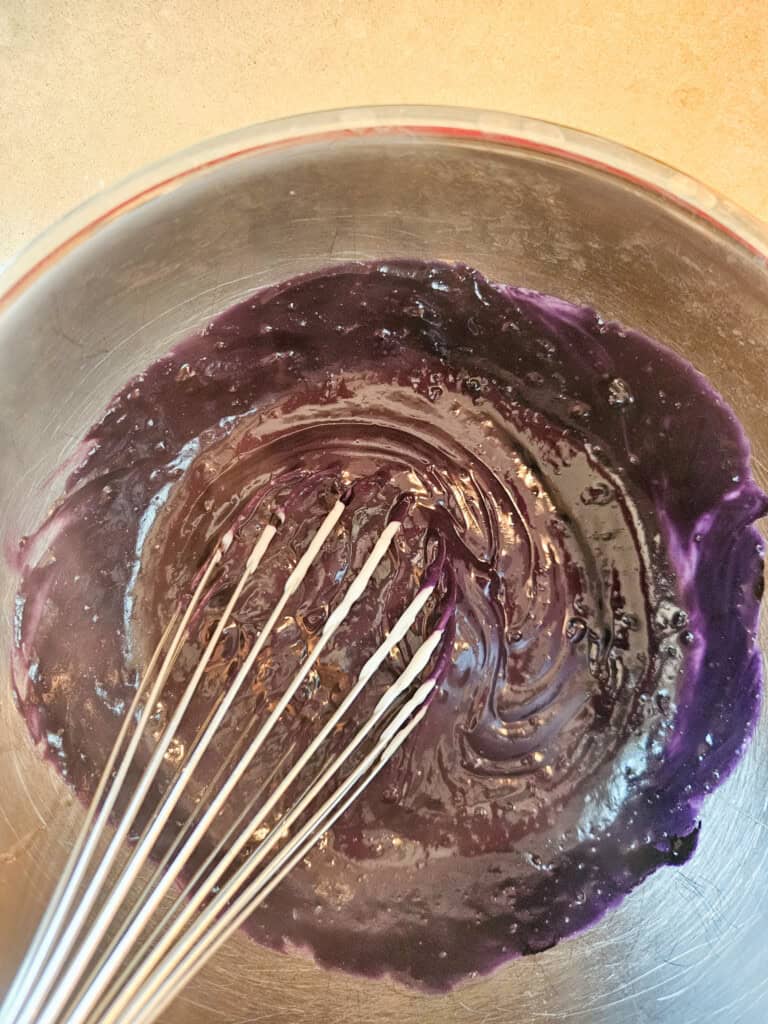
- Pour the measured amount of haupia into the bowl of ube halaya and whisk it quickly to melt and combine the halaya, coconut pudding, and extract.
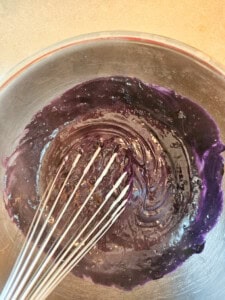
- The ube haupia filling will look a little grainy, but it shouldn't look clumpy.
Ube Haupia Pie Step-by-Step Preview
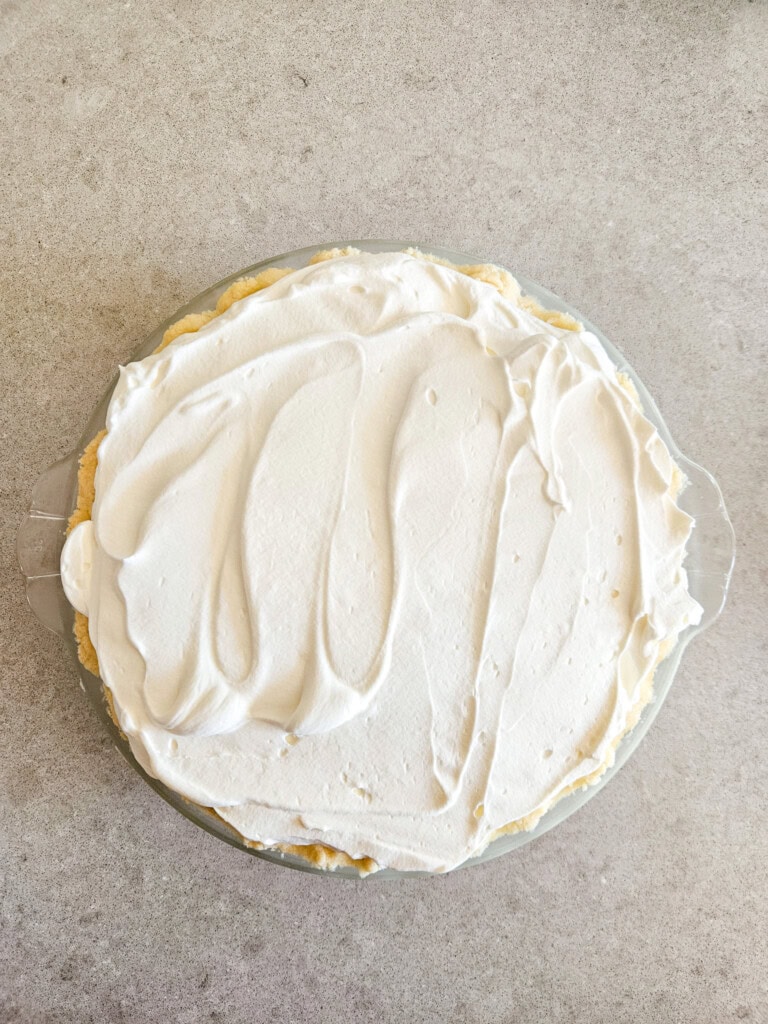
- Mix the crust ingredients in a food processor and press into the pie pan.
- Bake the crust and let it cool for 1 hour.
- Make the cornstarch slurry, set aside.
- Add ube halaya and ube extract to bowl; set aside.
- Add milk, coconut milk, and sugar to a pot and mix until smooth.
- Place the pot on medium heat and wait until bubbles on the edges start to form, then add cornstarch slurry.
- Whisk until thickened and pudding makes ribbons.
- Remove from the heat and pour some of the coconut pudding into the bowl of ube halaya and mix them together.
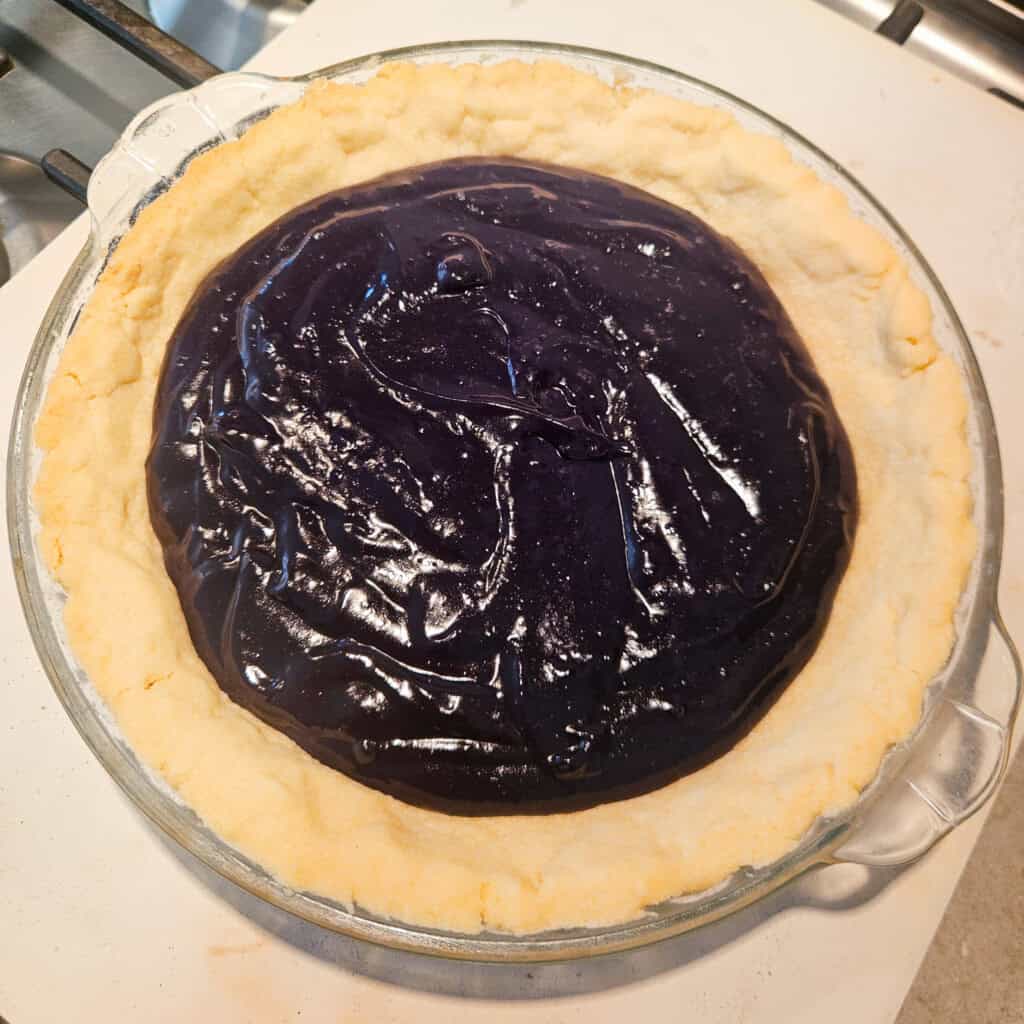
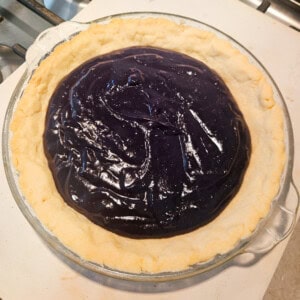
- Pour the ube mixture into the pie crust, filling it a little less than halfway, and smooth it out..
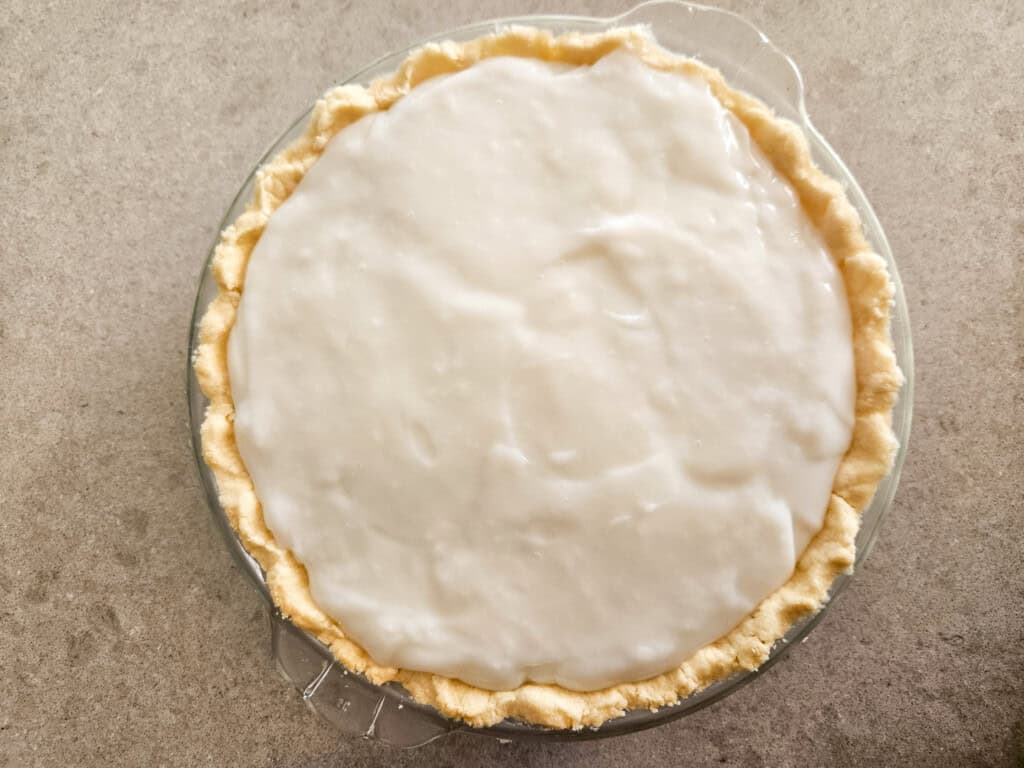
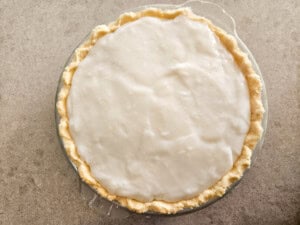
- Pour the white coconut pudding on top, filling the pie dish a little less than full.
- Refrigerate overnight to solidify the pudding layers.
- Make whipped cream topping, and add it to the pie before serving.
How To Avoid A Cracked Filling
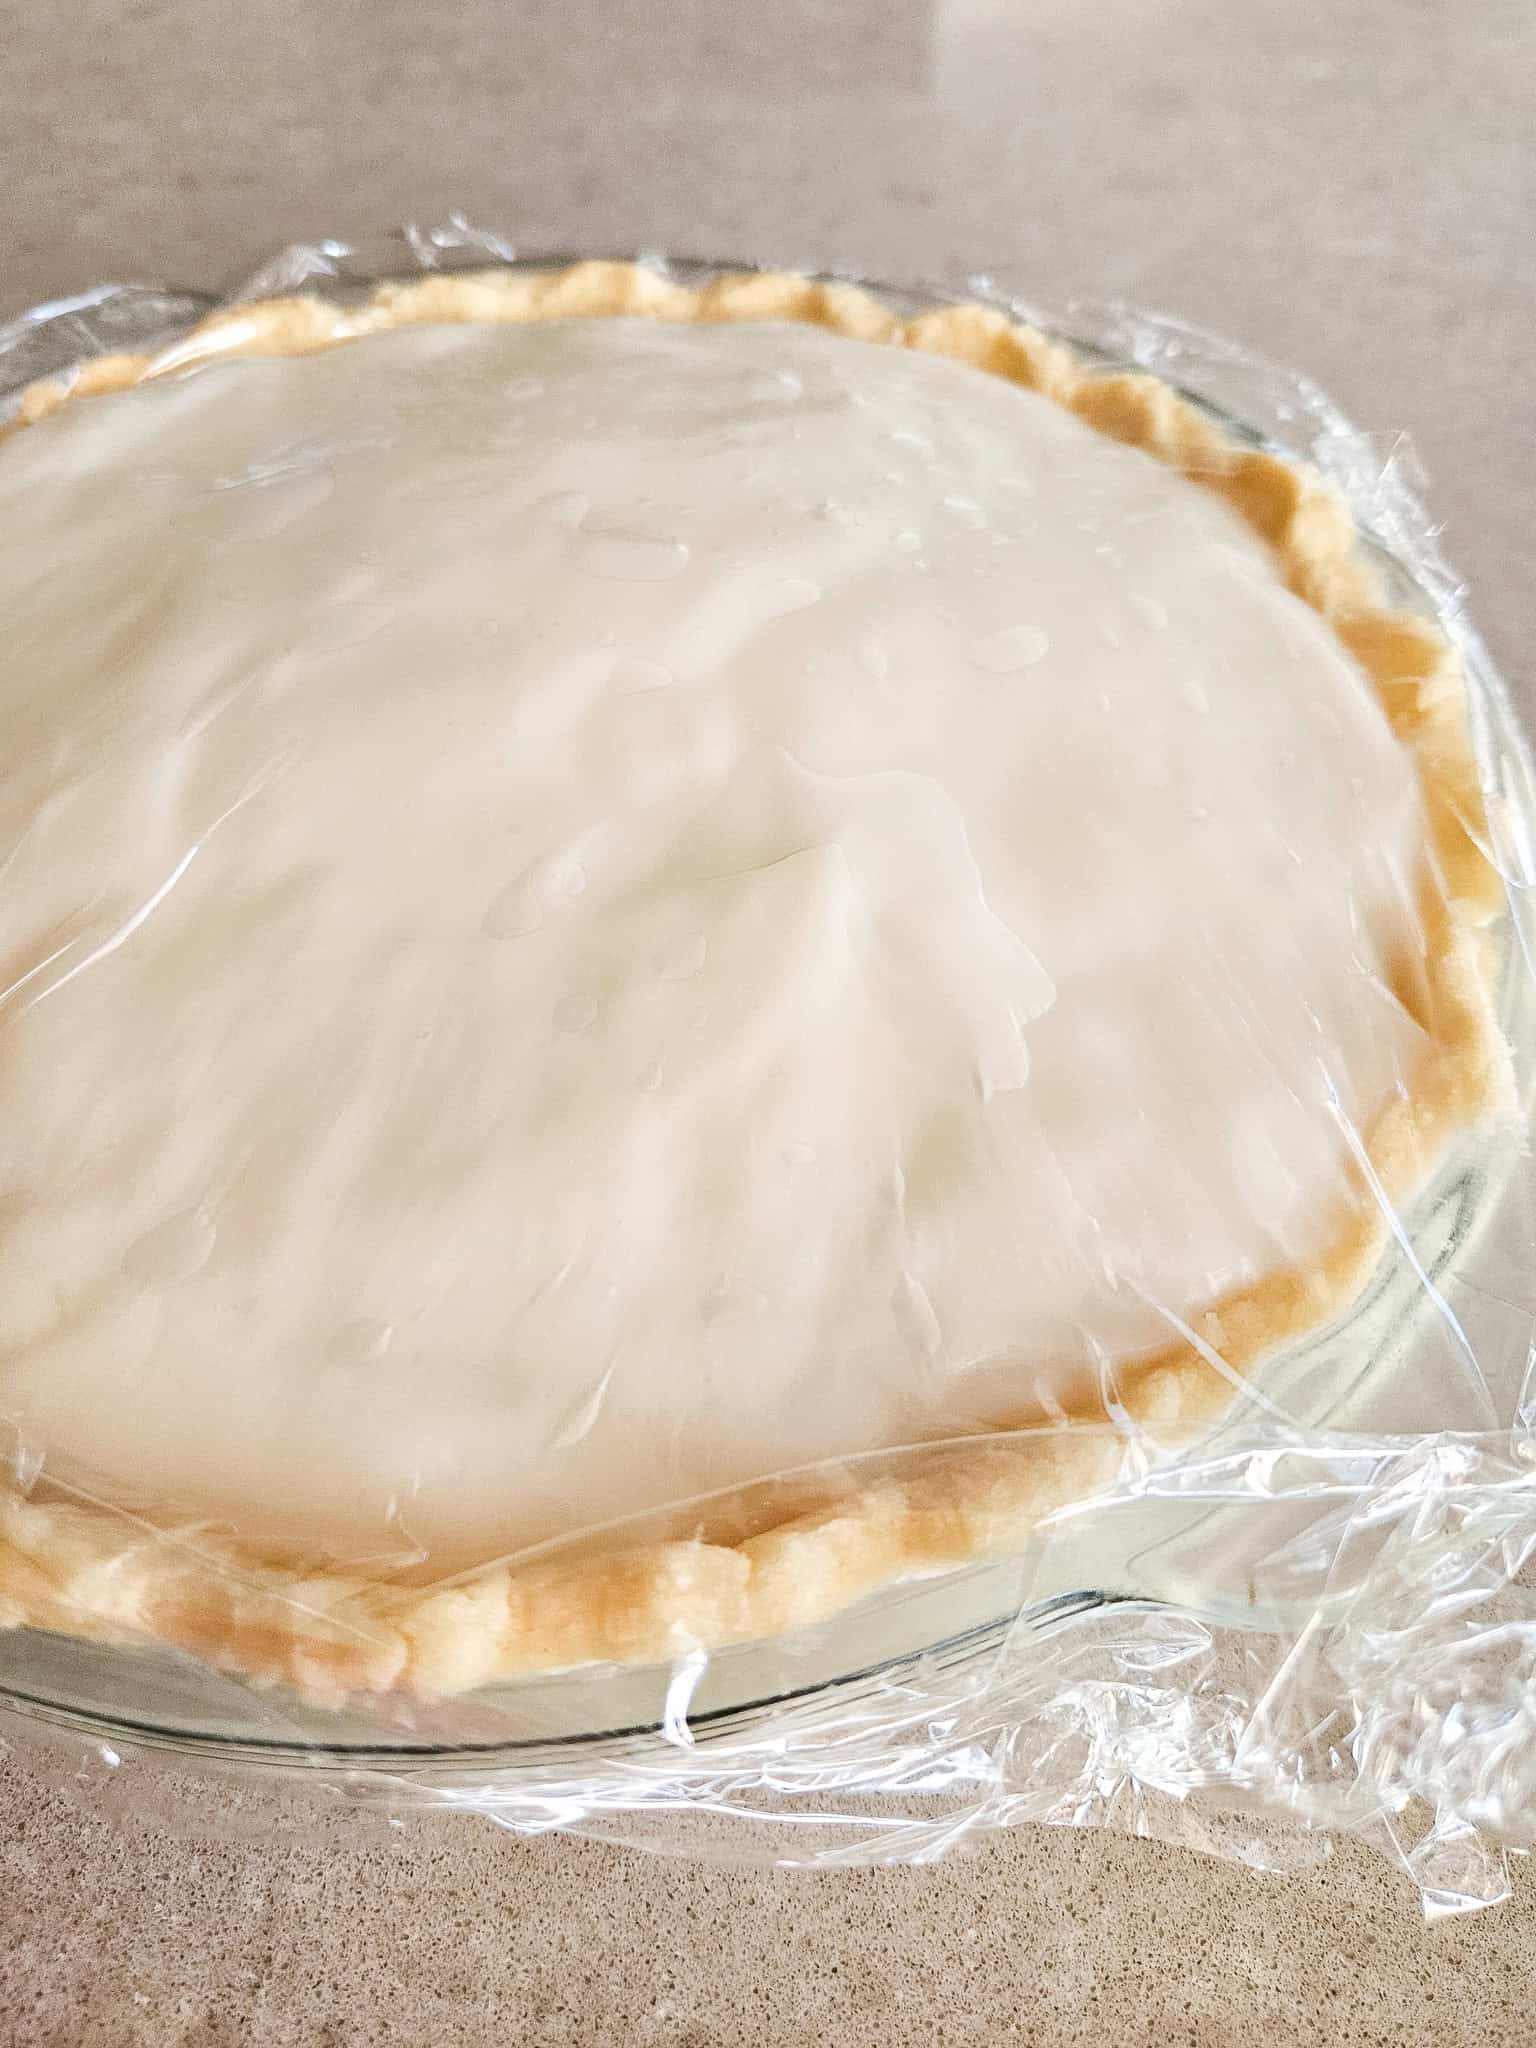
Sometimes, the top of the pie will crack as it cools because of the lack of moisture in the pudding a.k.a., the pudding was overcooked. This is why it's important to watch for those ribbons and as soon as you see them, remove the pot from the heat because it will continue cooking.
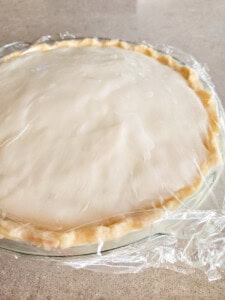
Another way to prevent the cracks is to minimize exposure to dry air in the fridge because that causes moisture loss too. We can do this by covering the top layer of the pie lightly with cling wrap *after* it has cooled to room temperature. Press down gently so that the cling wrap touches the entire surface of the pudding.
How to Decorate
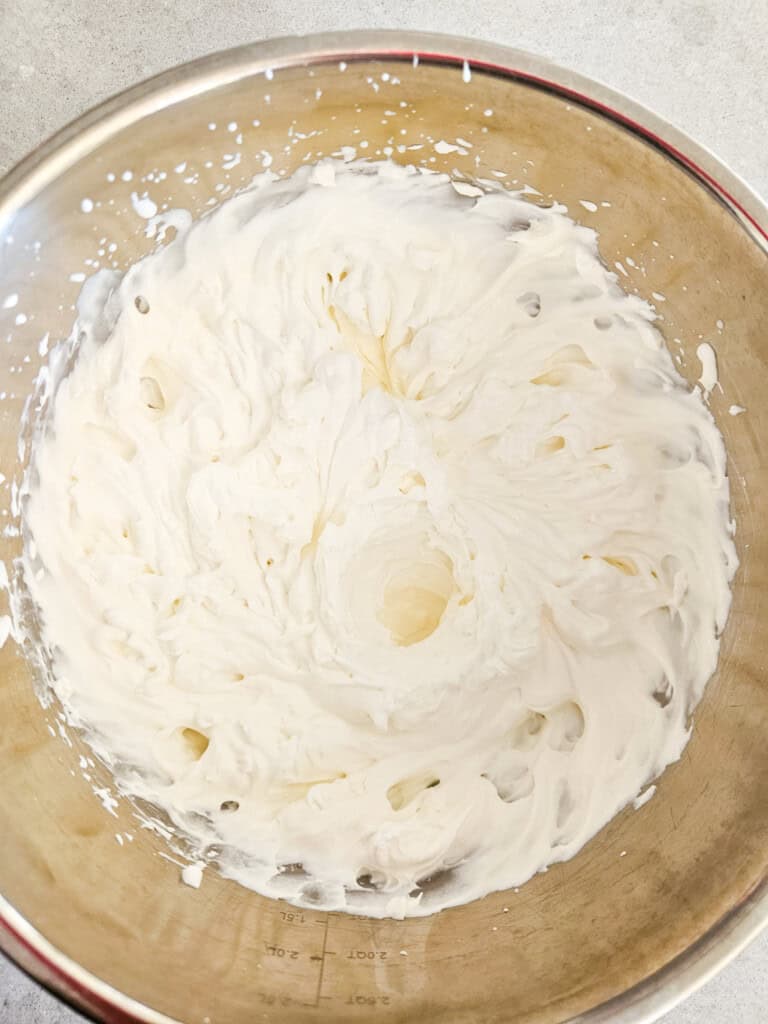
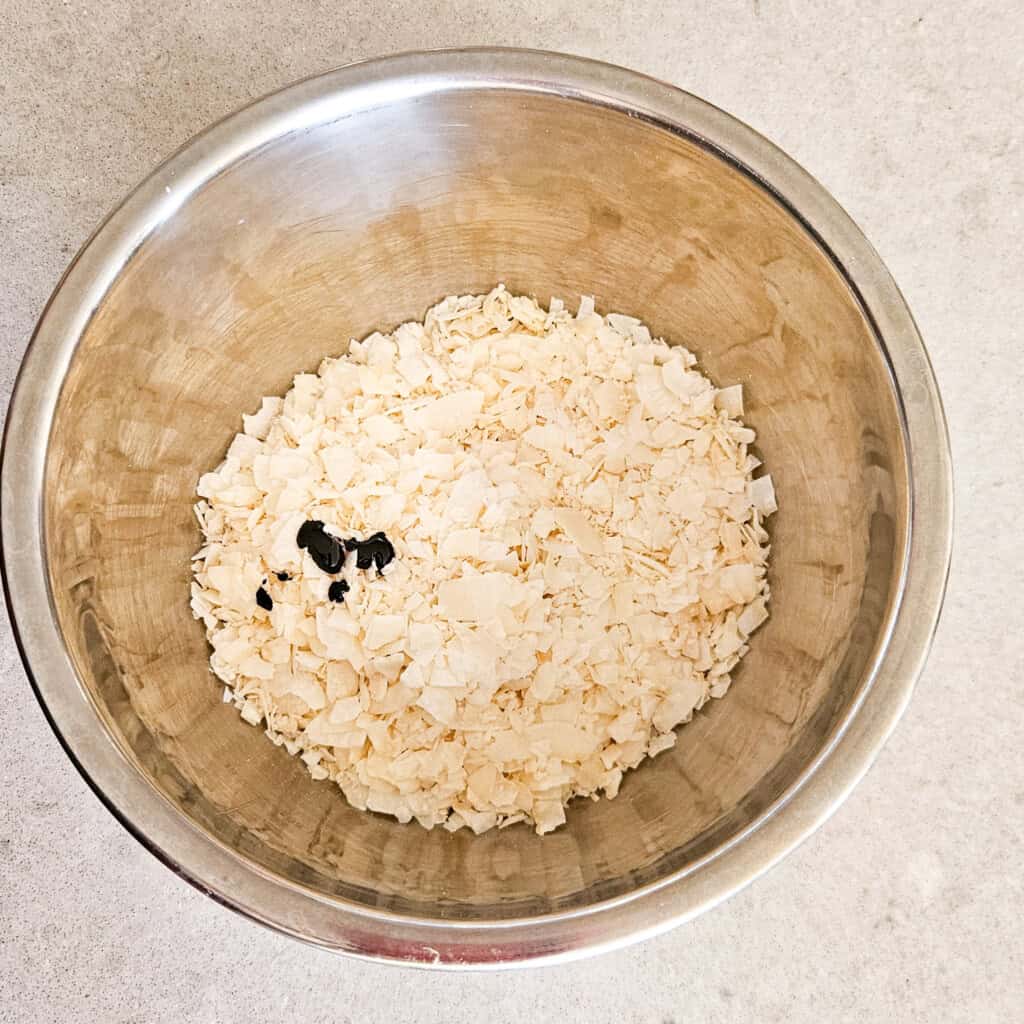
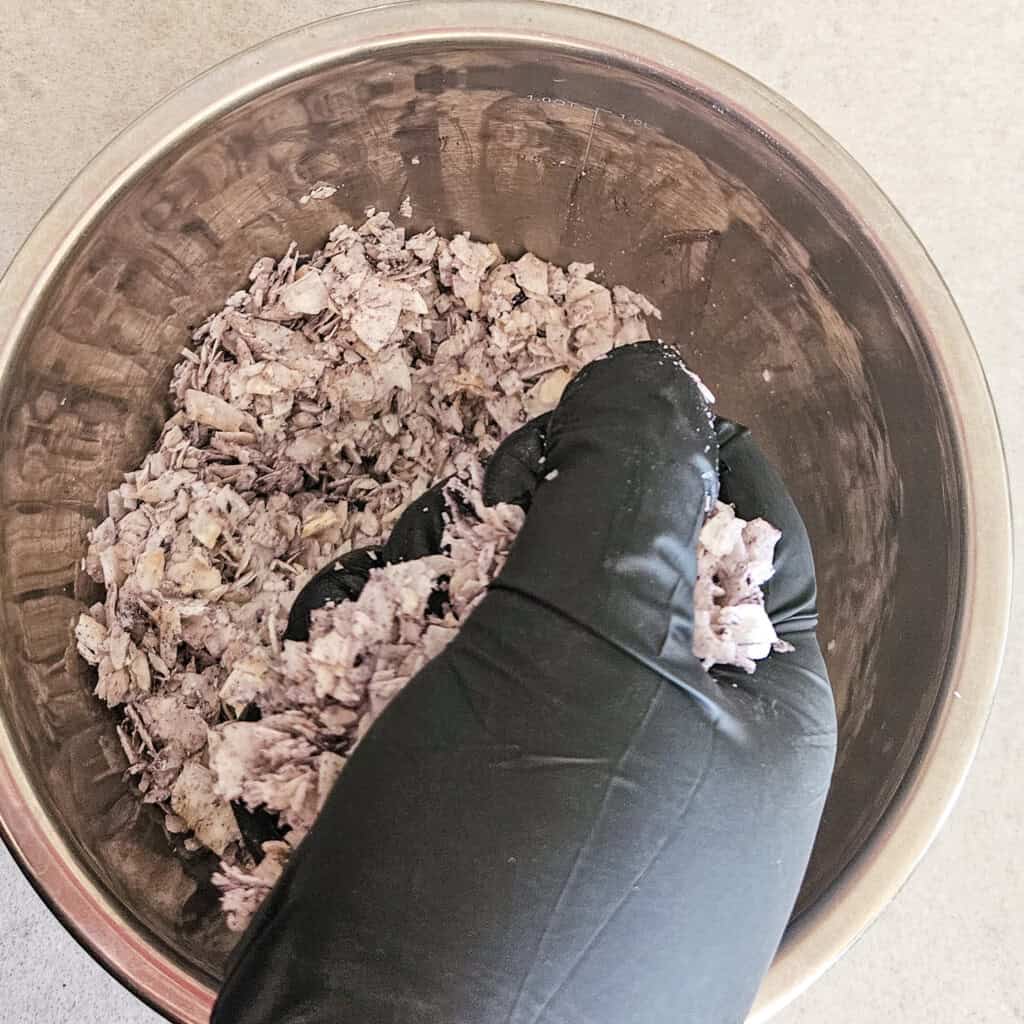
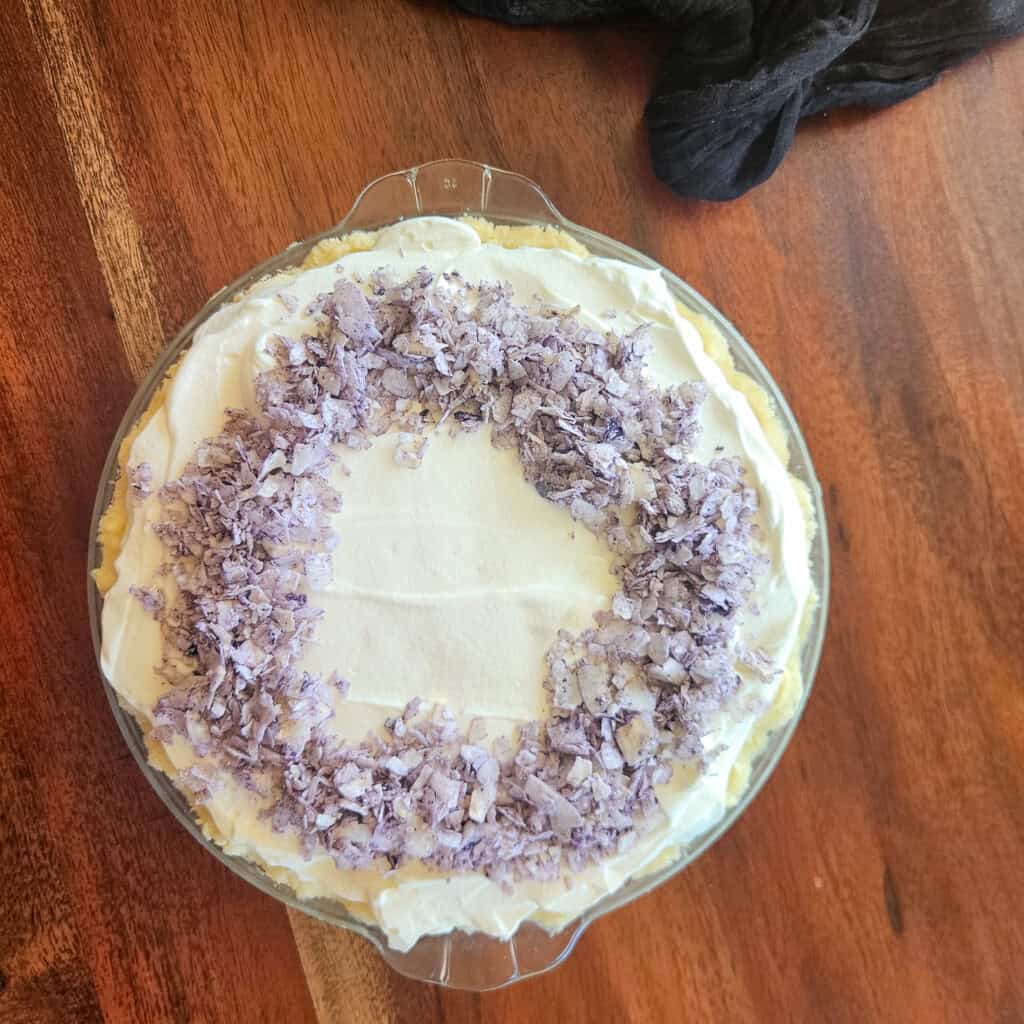
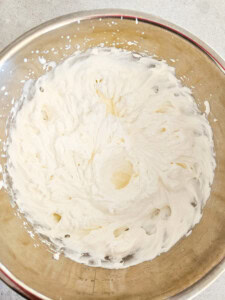
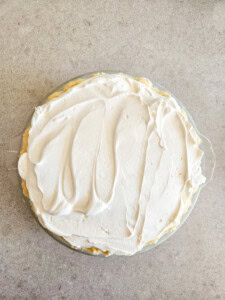
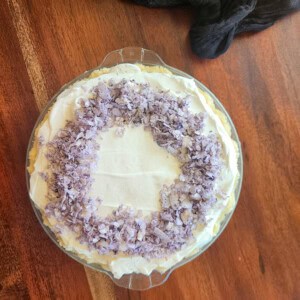
Take out the pie about an hour before serving. Make fresh whipped cream and top the pie with it. If you want to add a little more zhuzh to it you can do what I do: purple tinted coconut flakes! You can do this ahead of time, while the pie is cooling in the fridge.
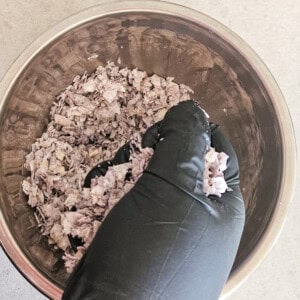
Add some coconut flakes to a bowl you know won't get stained easily, like stainless steel. Then add just a drop of ube extract into the flakes. Please, please, please put on food-safe gloves and rub the flakes together with your hands to tint them with the extract. I start with squeezing handfuls first, then mixing, then rubbing to create friction against the flakes.
FAQ
Yes, you can! Split the coconut pudding in half and add 3 teaspoons of ube extract to one half. Proceed as instructed.
You will begin to see the filling thicken when it starts to make deep ribbons as you stir gently and feel some light resistance against your whisk.
Make sure the pie has chilled for at least 8 hours, or overnight. Run a sharp knife under water for about 10 seconds and wipe it dry. Press hard straight down from the center point and slice down hard through the crust in one direction towards the edge. Try to do this in one pass.
Ube Haupia Pie (Hawaii-Style Coconut Pie)

Disclosure
The equipment and ingredients sections contain affiliate links to products I love to use as well as items that I personally believe make this recipe the best version of itself.
Ingredients
Shortbread Crust
- ¾ cup unsalted butter room temperature, cut into ½-inch pieces
- 2 tablespoon granulated sugar
- 1 ¾ cup all-purpose flour
- ¼ teaspoon salt
Filling
- 1 can coconut milk 14 oz or 400 ml
- 1 cup whole milk
- ¾ cup granulated sugar
- ½ cup cornstarch
- 1 cup water
- 2 teaspoon ube extract
- ½ cup ube halaya
Whipped Cream Topping
- 1 ½ cup heavy whipping cream
- ¼ cup granulated sugar
Ube Coconut Flakes (Optional)
- ¾ cup coconut flakes
- ⅛ teaspoon ube extract
Instructions
Make Shortbread Pie Crust
- Preheat oven to 350℉ (180℃). Meanwhile, add flour and salt to a bowl and mix together.
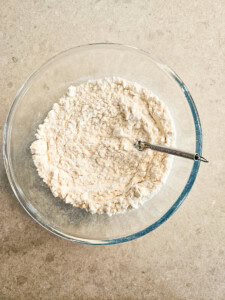
- Then layer scoops of the flour and butter pieces inside a food processor and process until it starts to come together.
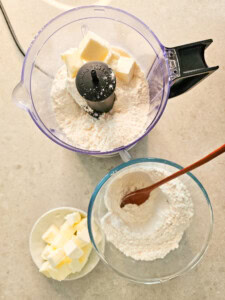
- Pour into a buttered pie dish. Spread the dough and press the mixture into a pan using your hands.
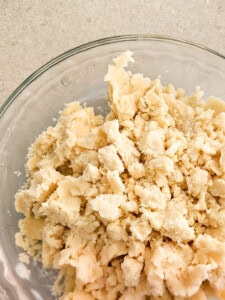
- Smooth out the bottom and sides using the back of a spoon.
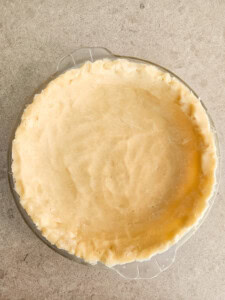
- Poke holds in the dough with a fork. Bake in the preheated oven for 15-20 minutes. Let cool for about 1 hour before adding the filling (or bake up to 1 day ahead and store at room temperature).
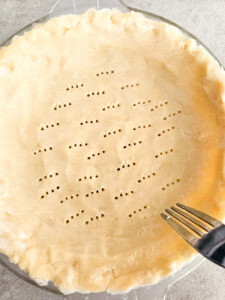
Make the Filling
- In a small bowl, mix cornstarch and water together until lumps disappear. Set aside.
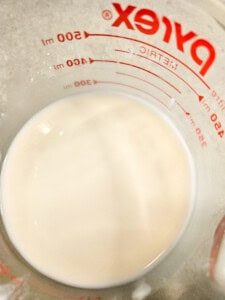
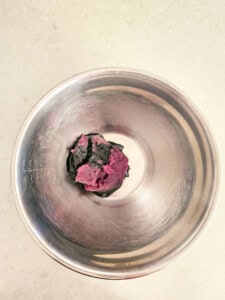
- In another large bowl, add the ube halaya and ube extract, set aside.
- In a pot, add coconut milk, sugar, and milk. Whisk together until smooth and sugar granules disappear.
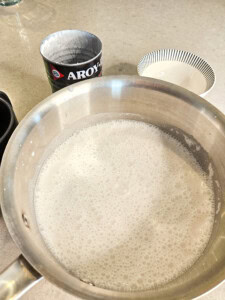
- Place pot on medium heat and let it heat while stirring intermittently and gently until edges begin to bubble. Once the edges bubble, stir in the cornstarch mix using a whisk. Continue whisking until it thickens.
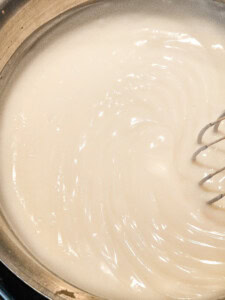
- Once the mixture thickens and creates deep ribbons when stirred, remove from the heat. Take 1 ¼ cup of the cooked pudding and add it to the bowl of ube halaya and ube extract. Note: If not using ube halaya, split the coconut pudding in half and pour half into a bowl of just ube extract.
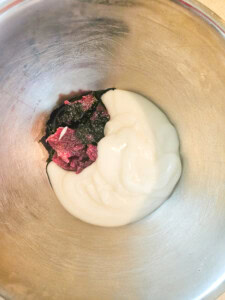
- Whisk the pudding and ube mixture vigorously until it is not lumpy. It will look slightly grainy.
- Pour the ube pudding mix into the bottom of the prepared pie shell. Fill it a little less than halfway.
- Pour the remaining coconut pudding from the pot on top of the ube pudding mix, leaving a bit of room at the top. Smooth it out gently with a spatula. Let it cool on the countertop for about 30 minutes.
- Take cling wrap and lightly press it on top of the pie, gently pressing it across the surface. This will keep it from cracking in the fridge. Refrigerate overnight to solidify.
Make Whipped Cream Topping (Before Serving)
- In a bowl, beat together granulated sugar and heavy whipping cream.
- Spread across the cooled pie. Serve immediately, or chill uncovered in the refrigerator for up to 24 hours before serving. Do not cover the pie once the whipped cream has been added.
Make Ube Flakes Topping (Optional)
- In a bowl, add coconut flakes and ube extract.
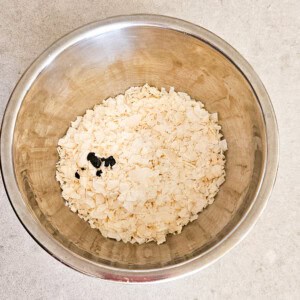
- Using food-safe gloves, incorporate the extract and flakes by squeezing and rubbing them together until the flakes are purple.
- Decorate the pie with the flakes.
Nutrition
Have You Tried This Recipe?
Simply rate the recipe by clicking on the ⭐️s on the recipe card. Have something to say? Please leave me a comment down below telling me what you think of this recipe.
Bonus: Let me and other readers know what you did to make this recipe your own - 💫 let's inspire each other!
Also, follow me on Instagram [@third.culture.taste] and send me a DM with a picture of what you made. I would love to share and celebrate YOUR creation with our budding community 💞
Check out Third Culture Taste on Pinterest and Facebook for more delicious updates.
Another yummy haupia pie hit from this blog!
Easy steps to follow and I learned something new! Delicious 😋
Delicious! Flavors blend in well with a balance of sweetness.